Hello again, dear Graphics enjoyers! The mission for Homework 2 was to build a renderer capable of handling HDR cubemaps, deferred shading for our armadillo friend, motion blur, and finally, tone mapping to bring it all to our LDR screens. It’s been a fantastic learning experience with a multi-stage pipeline!
Control Keys
Camera: Middle Mouse Button + Drag
Exposure: Page Up/Down
Key value: Up/Down
Gamma on/off: g
Tone-mapped and Gamma-corrected mode: 0
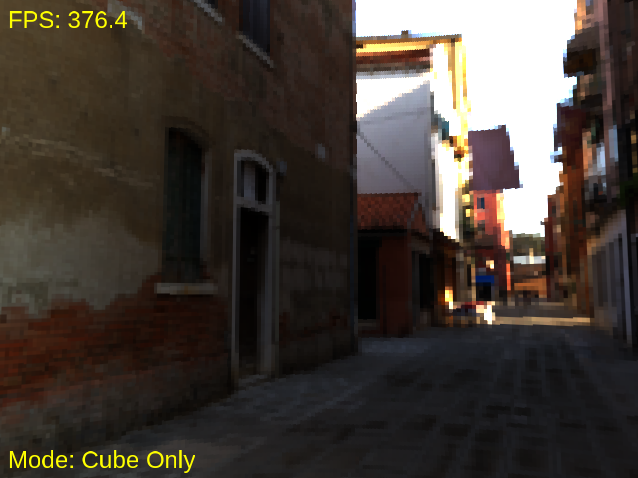
Cube-only mode: 1
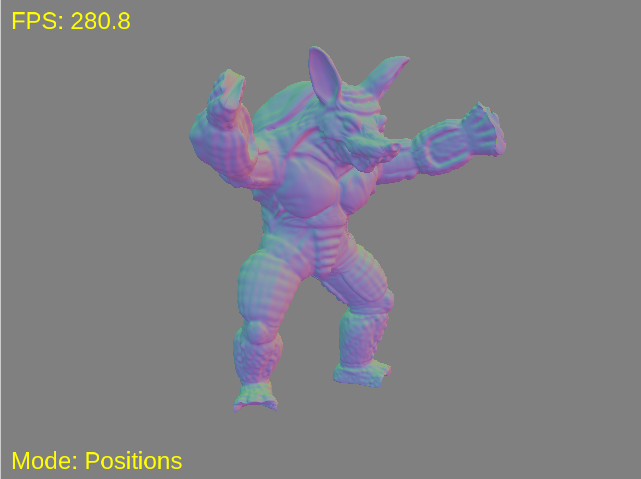
Positions mode: 2
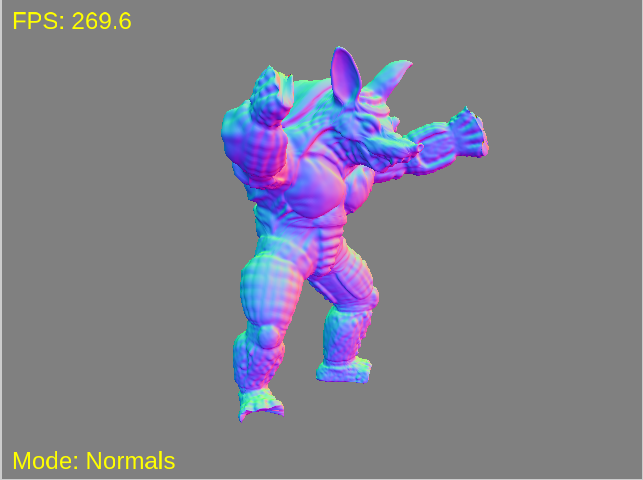
Normals mode: 3
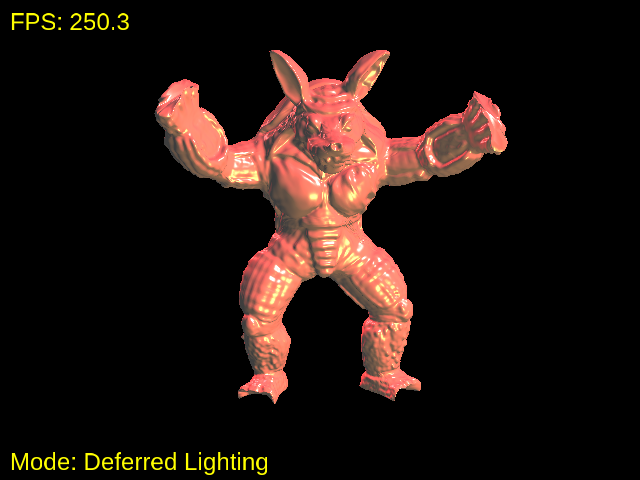
Deferred rendering mode: 4
Composite mode: 5
Composite and Motion Blur mode: 6
HDR Skybox
First, I set up an HDR cubemap to create a realistic environment. The brightness of this skybox is adjustable using an exposure control (Page Up/Down keys).
Deferred Shading
Instead of traditional forward rendering, we implement deferred rendering in this homework.
Geometry Pass
The armadillo’s world-space positions and normals are rendered into off-screen textures (the G-Buffer). Modes ‘2’ and ‘3’ let me visualize these G-Buffer outputs:
Lighting Pass
A full-screen quad then uses this G-Buffer data to calculate Blinn-Phong lighting for the armadillo. I used three different point lights.
Compositing
The lit armadillo is then blended with the previously rendered skybox. A tricky bit here was ensuring background pixels (where the armadillo isn’t) correctly became transparent to show the skybox. This involved fixing how background normals were handled in the lighting shader.
Motion Blur
I implemented a screen-space box blur that activates based on camera rotation speed. The blur strength ramps up with faster mouse movements and gradually fades when the camera stops. The output of this pass also stores the log-luminance of each pixel in its alpha channel, ready for tone mapping.
Gamma Correction
I’ve also added a gamma correction step, which can be toggled with the ‘G’ key.
Here gamma correction is disabled:
Here gamma correction is enabled:
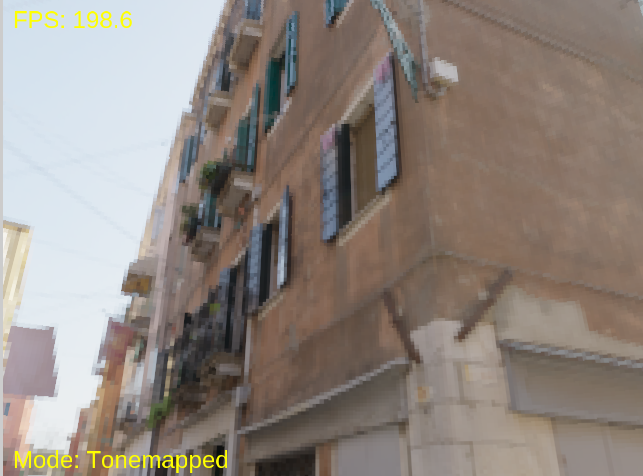
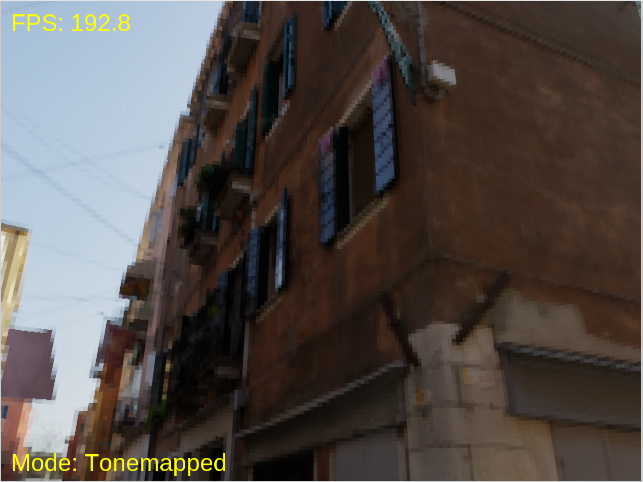
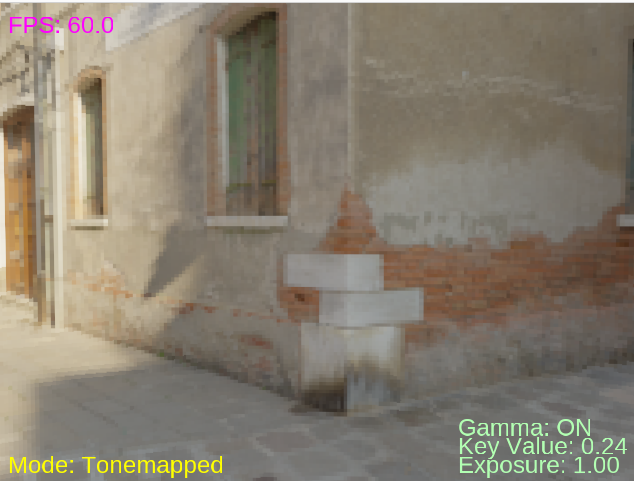
Tone Mapping
The final stage is tone mapping, specifically Reinhard global tone mapping, to convert the HDR image (from the motion blur pass) into something viewable on a standard display. This involves calculating the log-average luminance of the scene (by generating mipmaps from the motion blur texture’s alpha channel) and using it with an adjustable keyValue (Up/Down arrow keys).
However, this is where I’ve hit a wall. The tone-mapped output currently looks quite “strange.” The most noticeable issue is that the scene’s brightness and contrast shift significantly when the camera is moving (even when motion blur is disabled). When the camera stops, the image settles into a more stable state.
Moreover, for some reason armadillo is not displayed in this mode on inek machines.
Text Rendering
Conclusion
It was indeed a very rewarding experience. Many thanks to Oğuz Hocam for this wonderful learning opportunity.
Thanks for reading, and see you in the upcoming homework!
Leave a Reply