Hello, this is the blog for my project of CENG469, where I attempted to make a meteor simulator. It is not perfect and does lack enhancing featured I wished to have, but I had so much fun I think I will continue to finish and make it prettier.
Here are the master features that I implemented all:
- Procedural terrain generation with Perlin Noise (with tesselation shaders): Done
- Procedural meteor generation: Done
- Permanent land deformation with the crash: Done, though not perfect
- Selection of where the meteor will land: Done, could be better
- Particle, light and camera shake as crash effects: Done, though particle effects are laughable
- Realistic shading: Done
For the extra features, I did want to have a night day cycle, however I hardly found a space skybox, let alone a skybox with sun and atmosphere so that was scrapped.
I did do my implementation with a meteor shower in mind since you can call multiple meteors at the same time without a problem. But currently the only way to have a meteor shower is to click frantically.
I am quite content with my noise functions, though I only used perlin noise with different random functions or combinations.
Part 1: The Surface
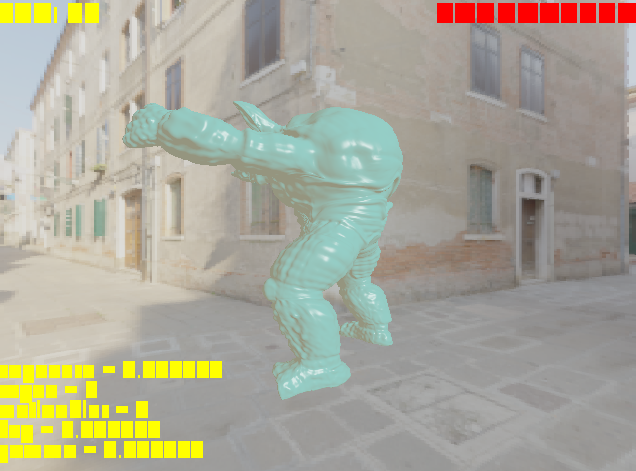
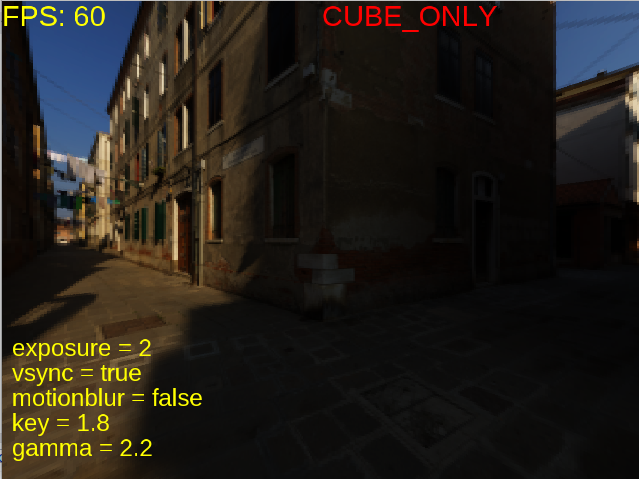
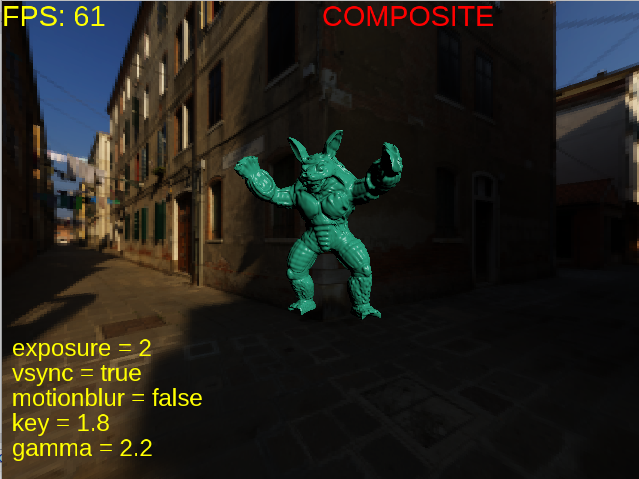
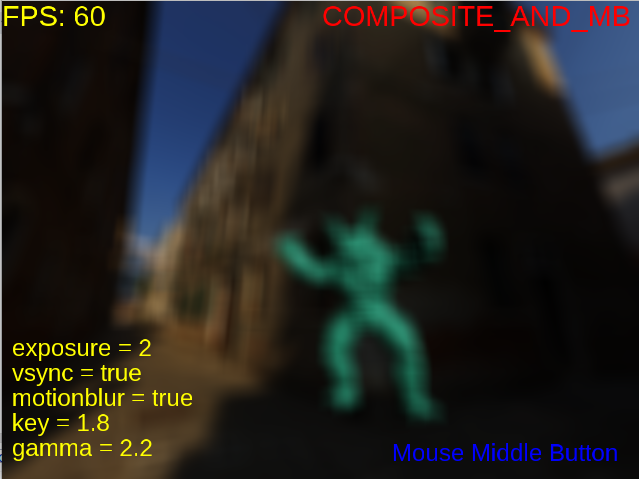
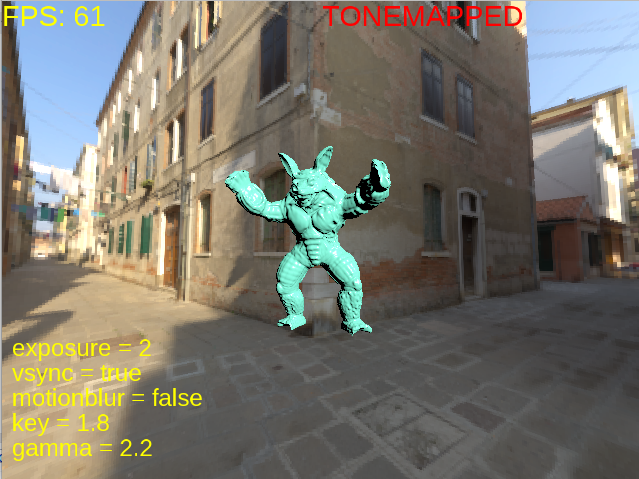
I implemented this project over the second homework, as I thought I could use various aspects of it, especially the hdr part. This did not go as planned as I hardly found a skybox at the very end. To get back on track, I am just warning for text and cubemap artifacts from the second homework.
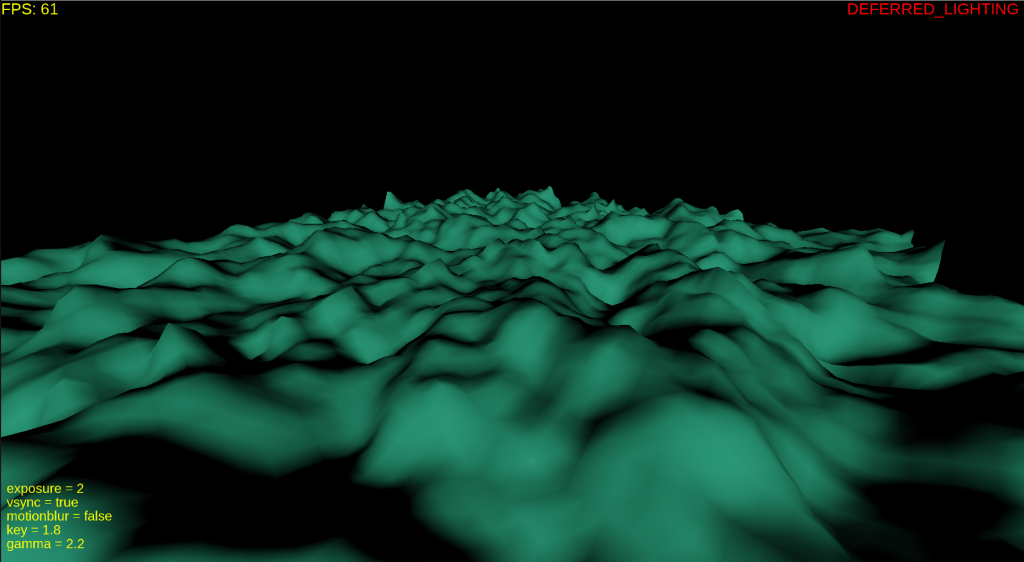
I started with drawing a grid with vertices and then applied 2D perlin noise on top of it. At the beginning, without normal calculations, this is how the ground looked.
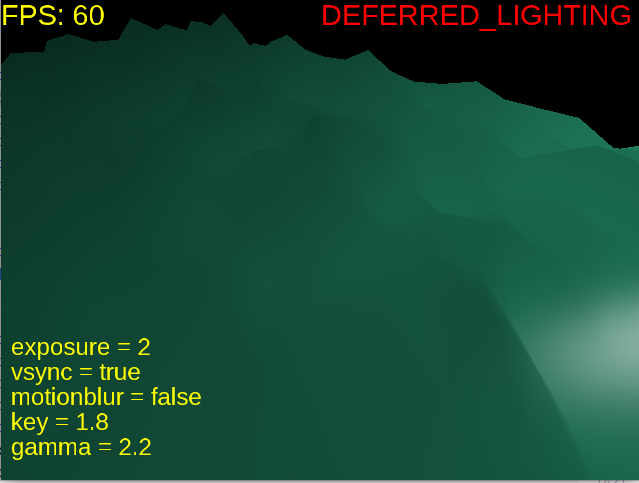
Quite majestic, looks like waves. But that is not the aim so I calculated the normals as follows:
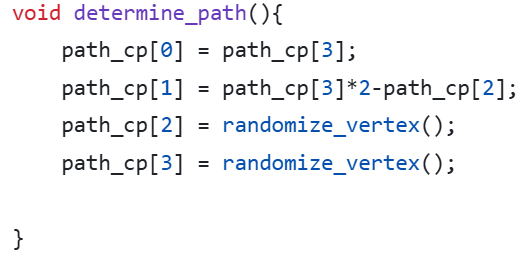
I first took four points, each one slightly to the left,right,forward, and backward. Then I applied the noise and found their final location, then computed the final normal by subtracting the points in the same directions and taking the cross product. Here is the code:
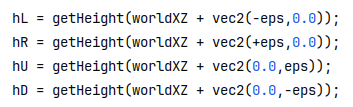
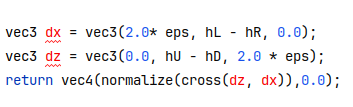
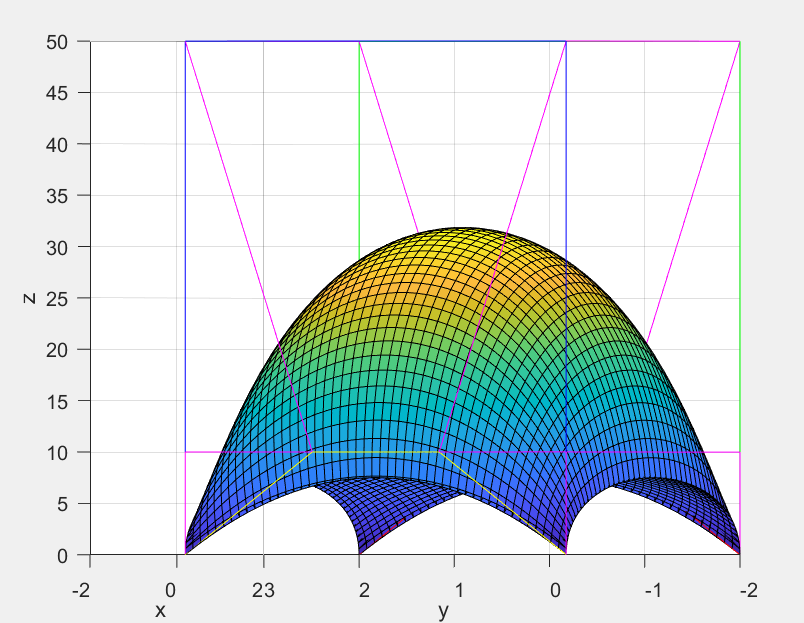
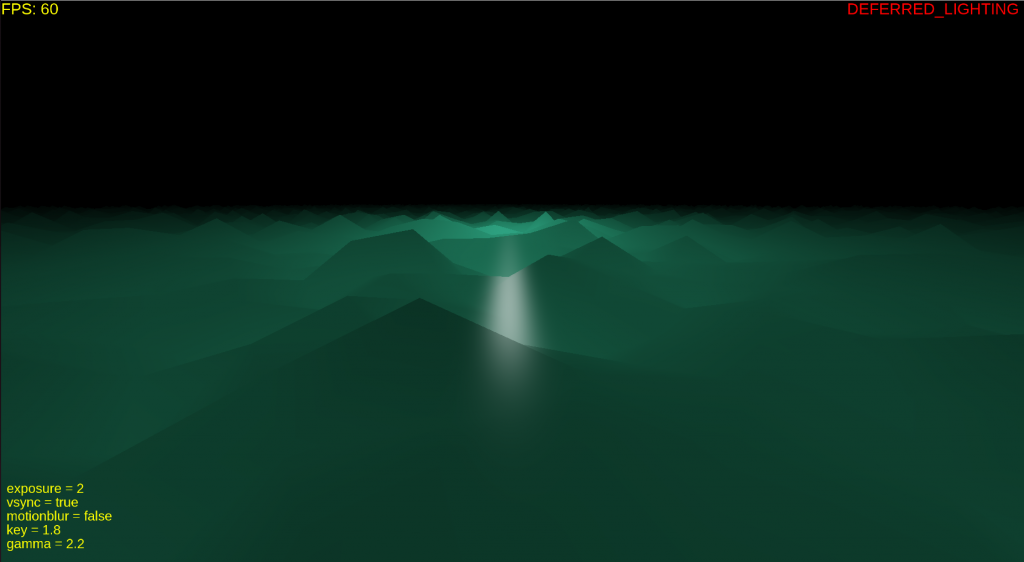
The result is quite great… For now. I then changed the implementation to use tessellation shaders and after that this is how it looked from above:
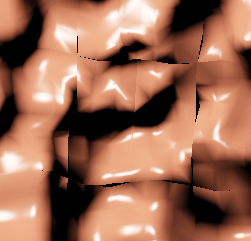
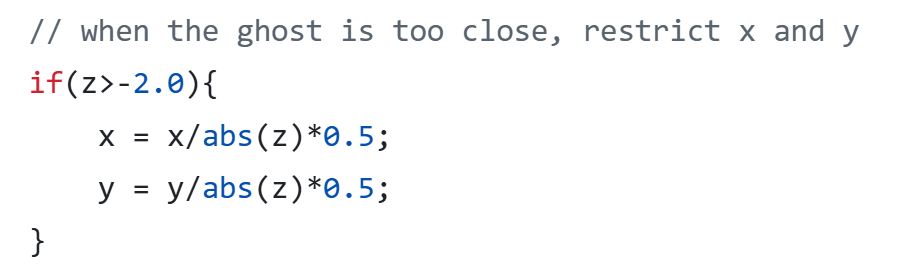
I fixed this issue by not precomputing the corners since when x and z are multiplied by 2 in the perlin noise functions, they could exceed the precomputed corners.
After fixing it, I continued to play with the noise function to have it the way I wanted. I also added dynamic tessellation, though I did not use it because my computer could hardly handle the smallest acceptable tessellation size.
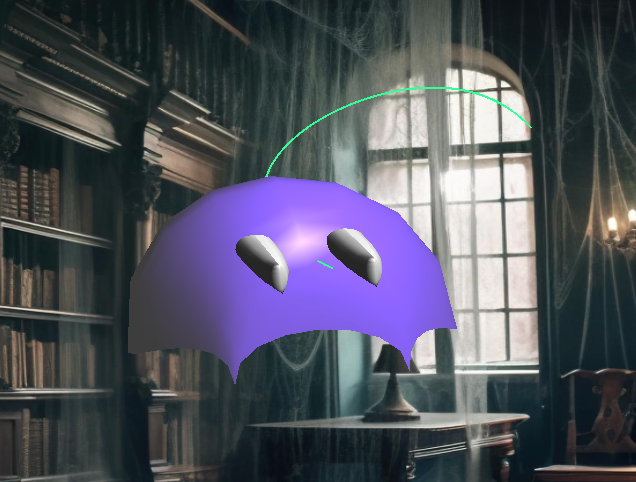
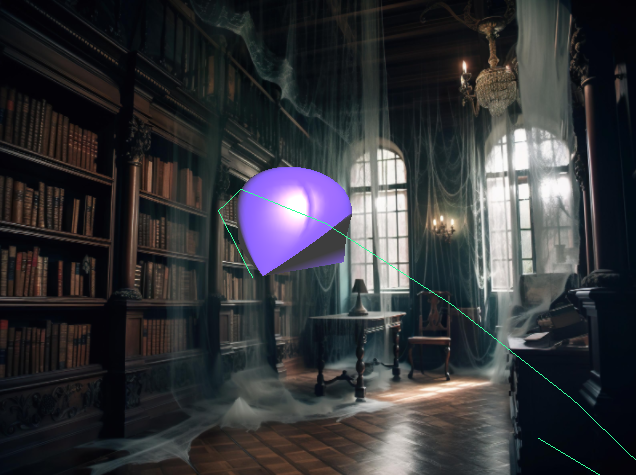
Part 2: The Meteor
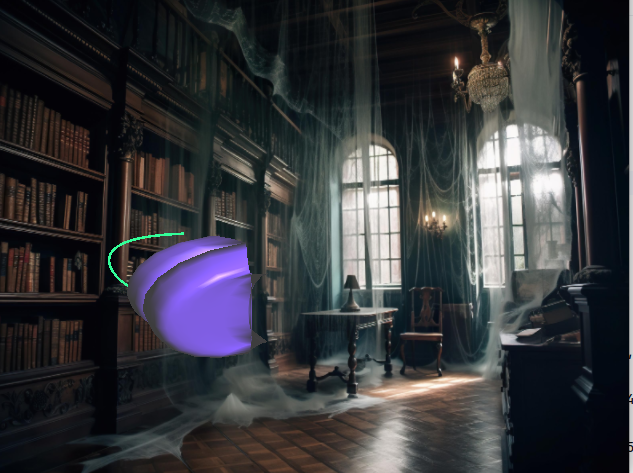
After handling the surface, I thought the meteors would be the same. It was not. There were a lot of design questions as well as the 3D Perlin noise. When the noise was 3D I was not able to do the small tricks I did during the render of the surface. Handling the normals, the noise function and everything took longer than the surface. I again first implemented without tessellation shaders to be sure.
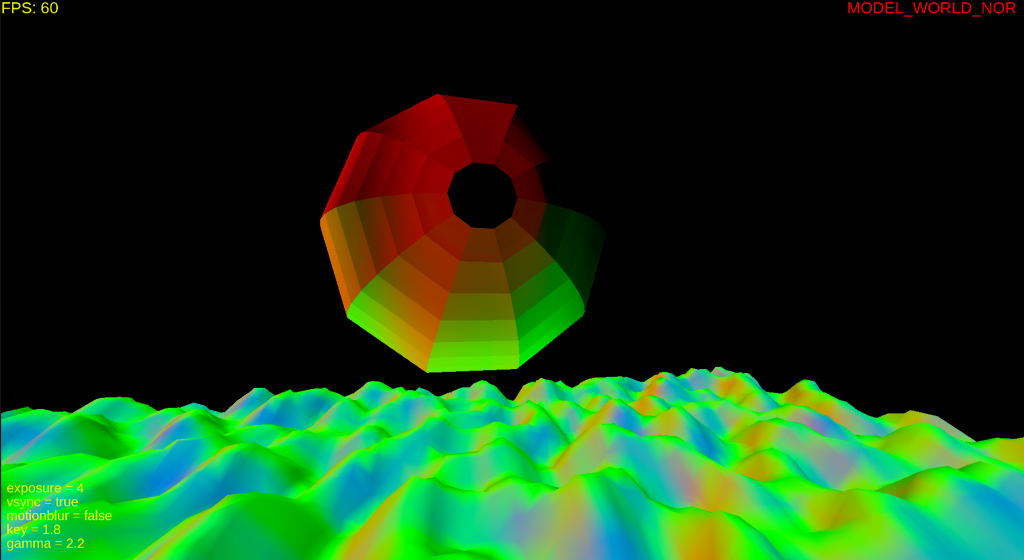
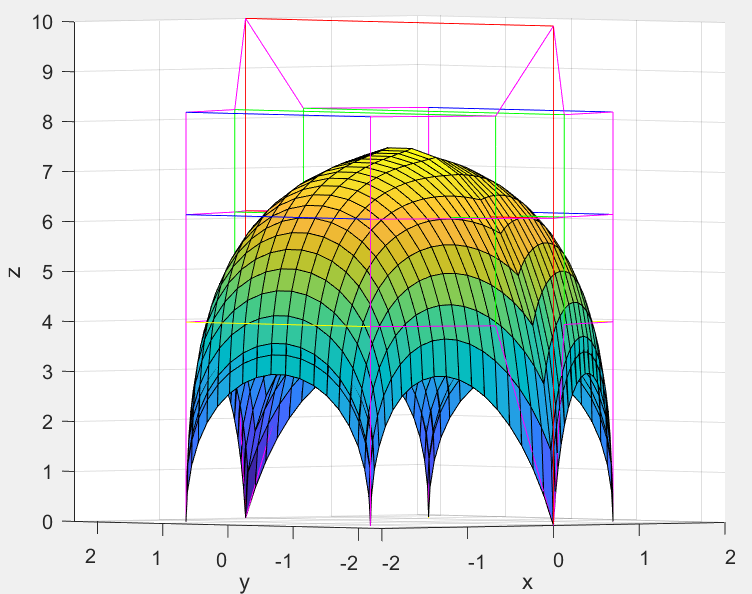
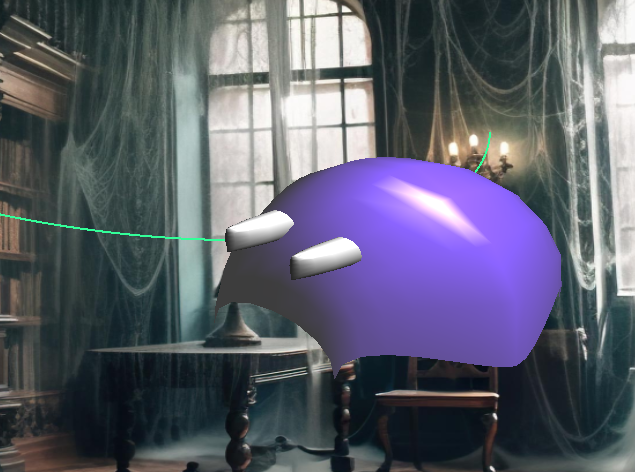
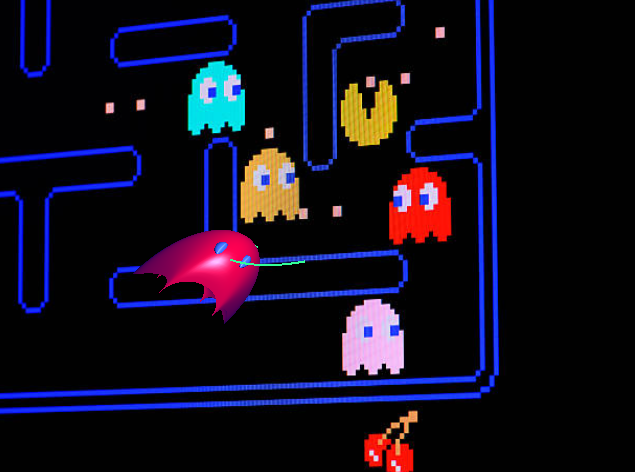
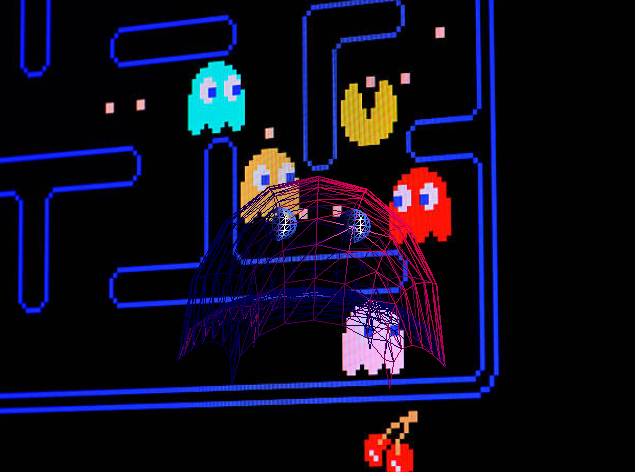
I used a simple sphere algorithm (https://www.songho.ca/opengl/gl_sphere.html) that mostly separates the sphere into patches, just like we want for tessellation. But as seen in the picture, the top parts need to be single triangles, and thus not four cornered patches. I did not completely fix this, just made it really small.
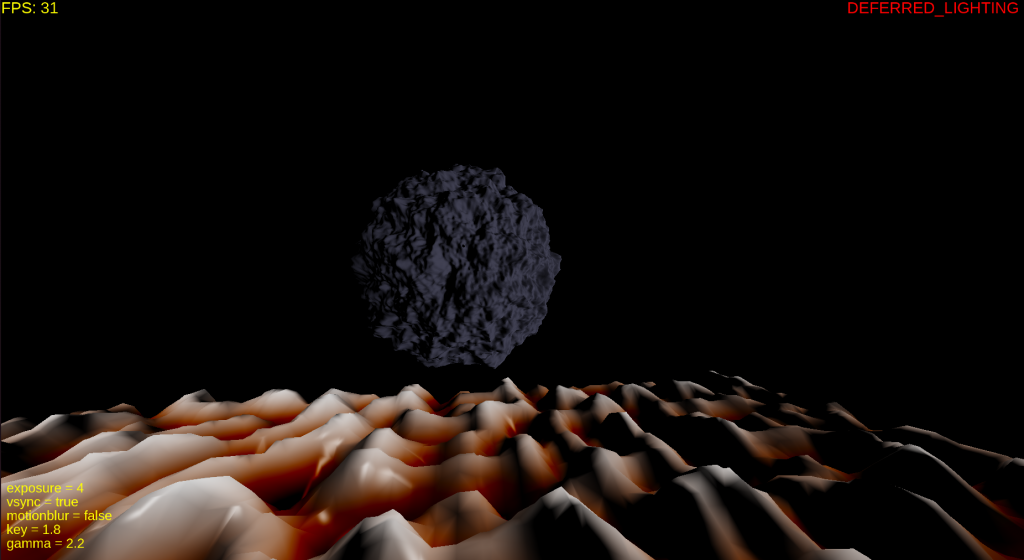
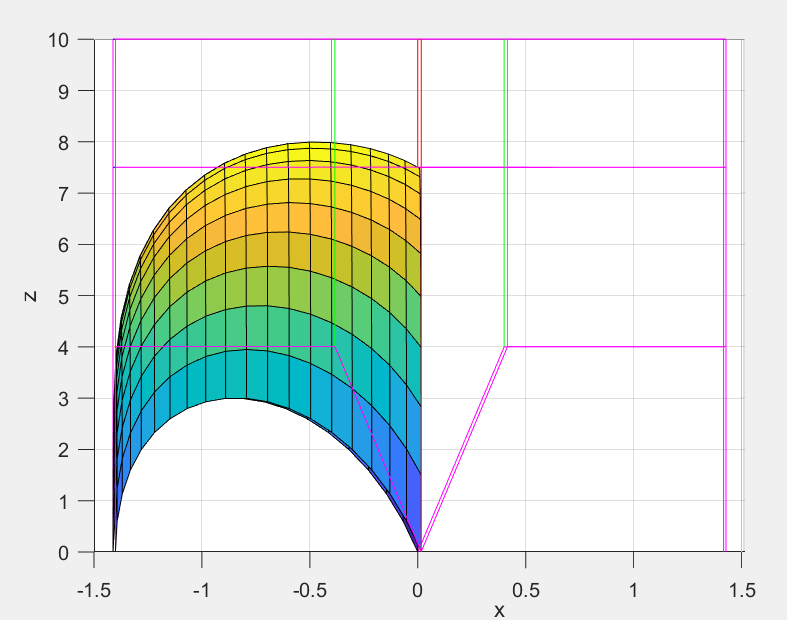
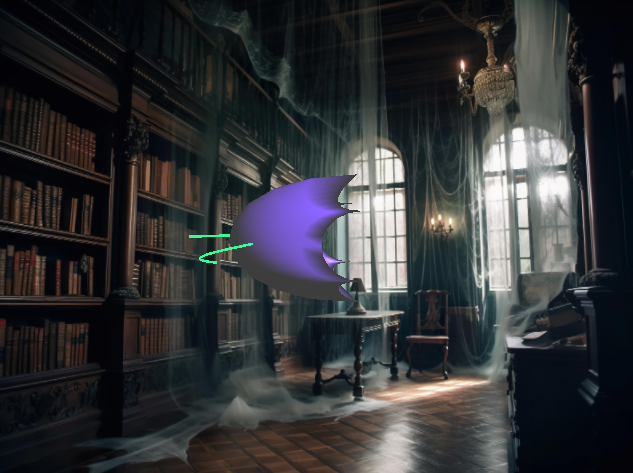
This is the initial meteor surface, I then lowered the resolution and the perlin noise degree. As you can see in the top left corner, even though I was not making any computation with the cpu, my poor pc was struggling as my GPU is just decent. To help my pc, I used dynamic tessellation and lowered the size drastically when the meteor is slightly far. It did help quite a lot.
Part 3: The Crash
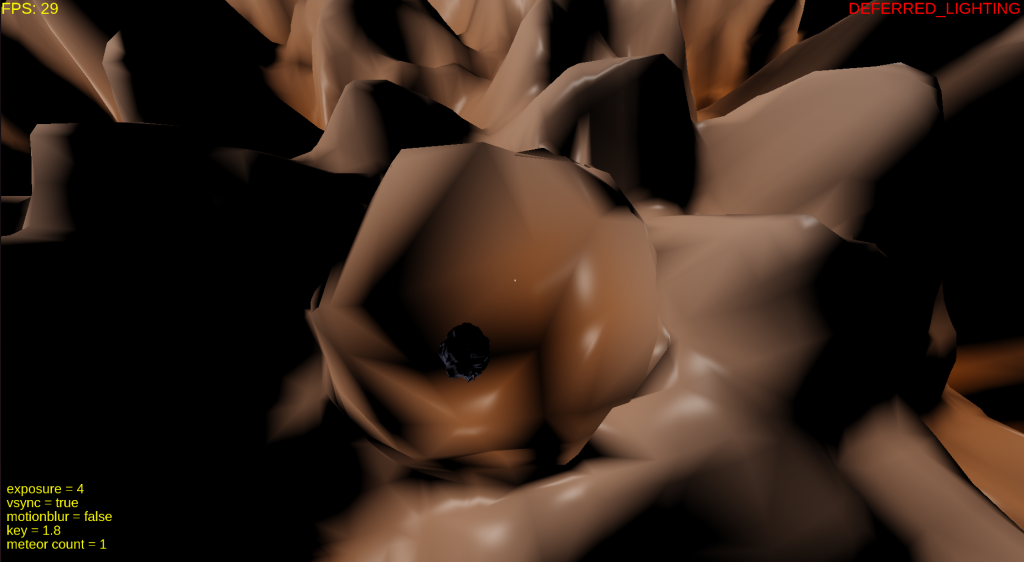
Adding velocity etc. was simple. The main idea was how would the crash look like. I chose to have a very big sphere that is far away, as that is the easiest way to mimic a crater. After doing that (and struggling with embedding the meteor just right), I realized the crater was so smooth. So I did it again, I applied Perlin noise. It’s like magic.

Part 4: The Effects
Then came the effects. I applied a randomize shake, a flickering light and a very sad particle effect.
For those, you can check the final demo.
Part 5: User Interaction
Arrow keys: Movement around the “map”. To do this I simply move the modeling matrix in the opposite direction because the cubemap and the camera needs to stay the same.
N/M: Go down/up
Scroll up/down: Change FOV
Left click: Call a meteor to crash if the dot in the middle is crossing the surface.
The other control are the same as homework two.
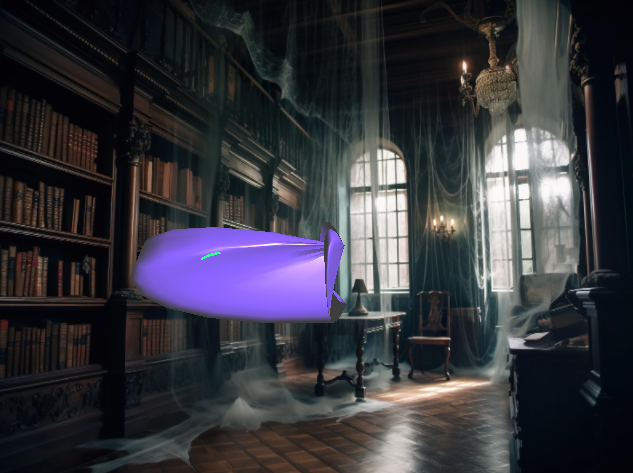
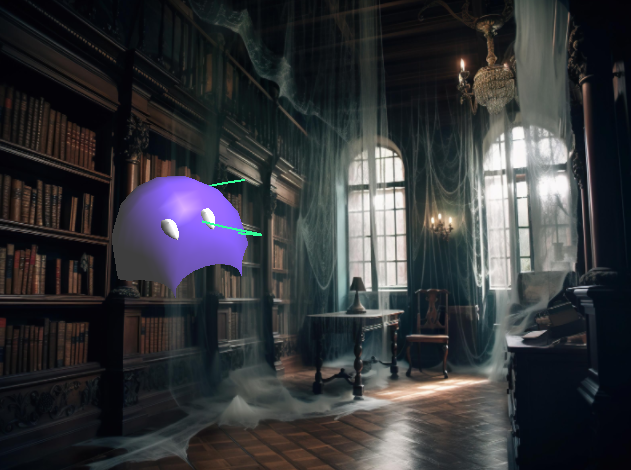
Final Result
In the end, I managed to get a decent FPS by managing the tessellation and sizes of everything. It could be better, since I did not utilize compute shaders.

I chose this project to be like this because I wanted to get comfortable with OpenGL and I managed to do just that. There is more to it of course, but right now I am very comfortable with shaders and passing buffers, as I was not after the homeworks 🙂