Hi there! This is my process of designing a ghost that roams in a room by implementing Bezier surface and curves. My progression was not linear for either of the parts and I jumped between them, and my pictures show that.
I used the template given by the instructors which helped quite a lot.
Part 1: the Model
I started with the design of the model. The first idea was to have a model that looks like the generic ghost (as a flying white cloth), but I somehow needed to make it a closed model, which meant I had to close the bottom. I also wanted the edges at the bottom to be spiky.
I really liked my first design, but it made things too easy. It had only two surfaces and there were no surfaces needing C1 continuity. I wanted to learn both how to make the normals work at triangles that shares edges with other surfaces, and to ensure C1 continuity.
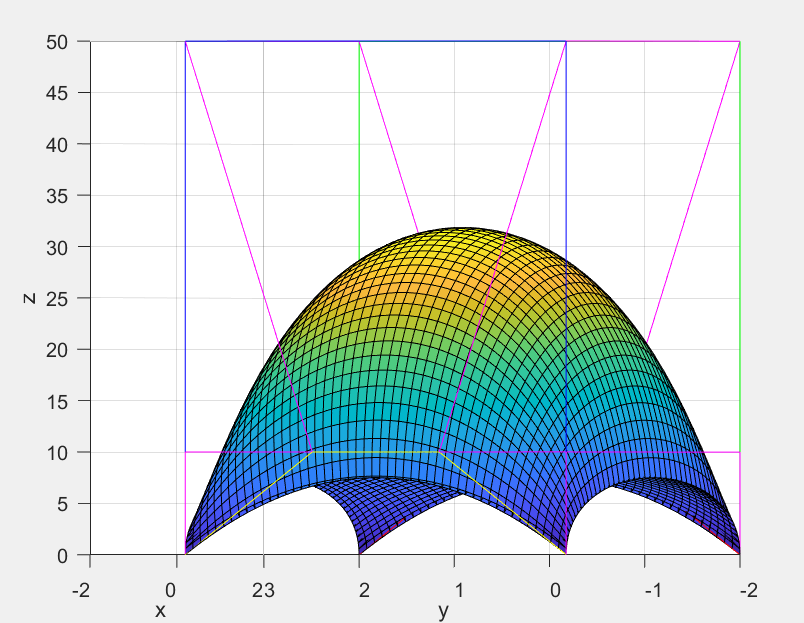
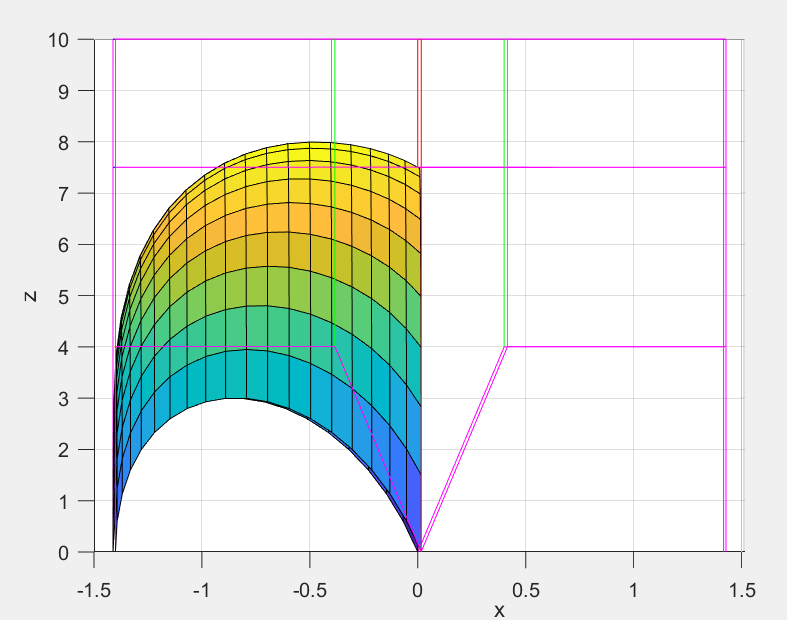
This design was the final version while I was designing at MATLAB. It is possible to see that it is not C1 continuous. I explain my process to fix that further into this part.
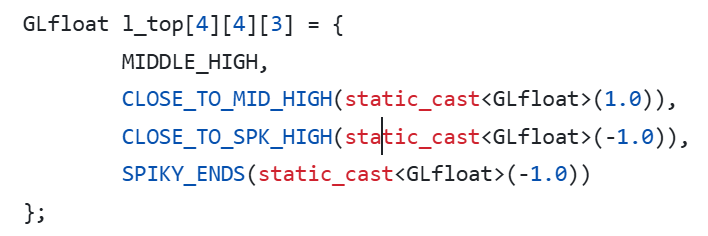
To show the model on OpenGL, I first defined the control points. To have a easily modifiable definition, I used macros and constant variables:

This way I ensured cleaner and less confusing looking surface arrays.
I then determined the vertices the triangles which will be formed with using bernstein polynomials with n=3.

Since my model was simple, for the duplicate vertices I found the ones which would overlap and did not add the duplicates to the vertex array. To make this process simpler, I used a [surface_count][sample_size][sample_size] sized vertice index array and stored the indices there to be used for the tesselation.
During tesselation, I directly used the index values from the vertice index array, this worked seamless. I then drew the faces with glDrawElements.
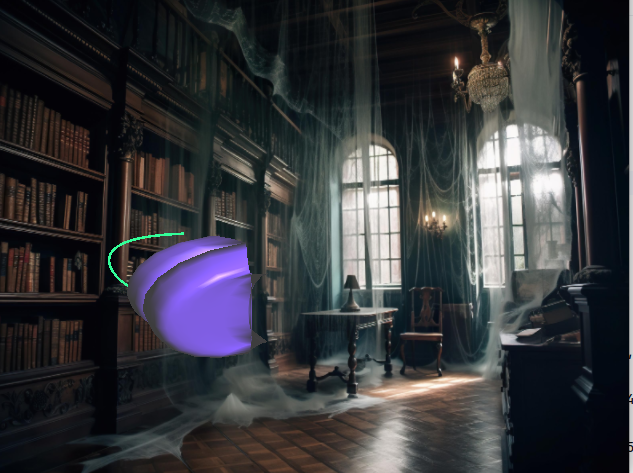
Initially, I did not add the normals. You can see it below, the surface seems flat.

My first idea to find normals was to add 1/6 the normal of the every face to the vertices. However, this is not a fool-proof way as there is no guarantee that a vertex would share 6 faces all the time. The solution was easy: To add the normal for the every surface and then to normalize.
To add multiple surfaces, I used a different vao for each, yet same modeling matrices for all. This way all the surfaces would move at the same time.
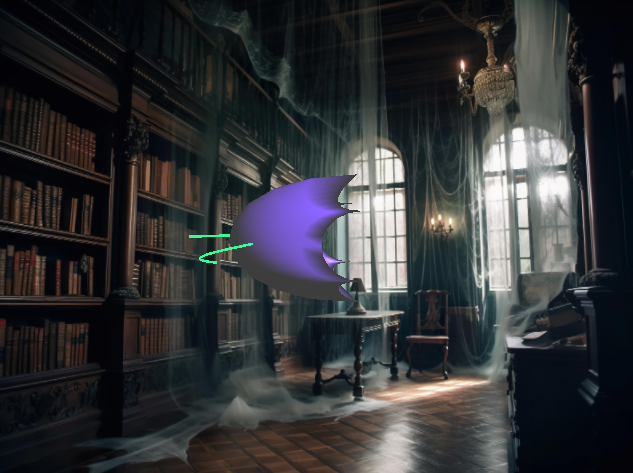
After seeing every surface on screen, I could see a very obvious mistake, the shapes were nothing like what I had designed.
The problem was before tesselation, while determining the vertices. I was looping from i=0 to i<3 instead of i<4, a very simple yet hard to catch mistake. After that, it started to look a lot more like my model. However, the discontinuity was way more obvious. I could make it less by changing the variables I had defined earlier but could not get rid of it entirely.
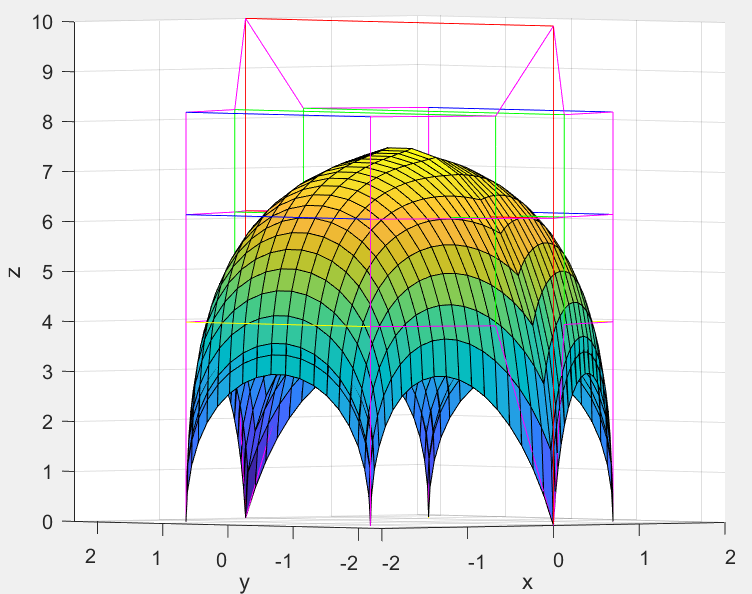
Then I realized that my model by design prevented C1 discontinuity. Initially, I was very confused as to why the top was arching even though the control points were colinear there.

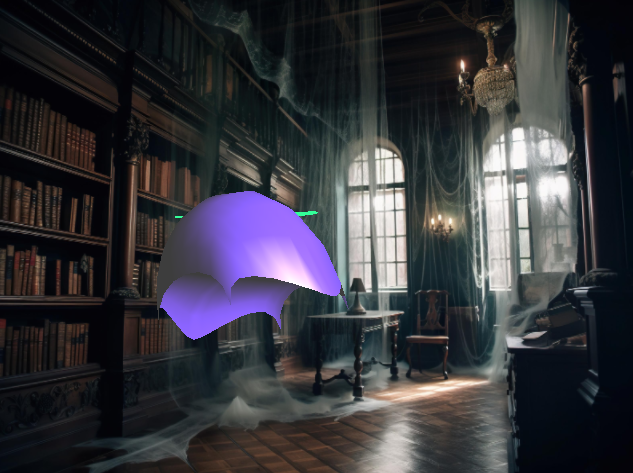
So I tried to increase the height of the middle arch, this did looked ok at MATLAB, but the flaw was still very obvious at OpenGL. I later realized the control points at the bottom were not colinear, in fact they were far away from being colinear. This meant I could not have a nice arch on the sides, but sacrifices were made and I made them colinear. This indeed solved my continuity problem.
Then, I was faced with another issue. This was very obvious and easy to fix. I realized I was summing the normals even at the very sharp edges and decided to keep the duplicate vertices at the sharp edges.
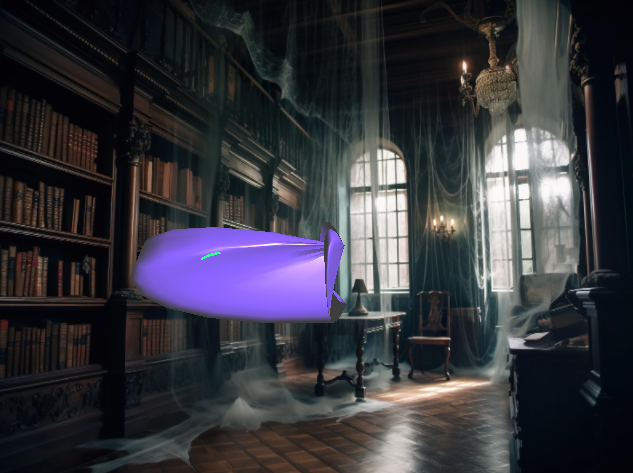
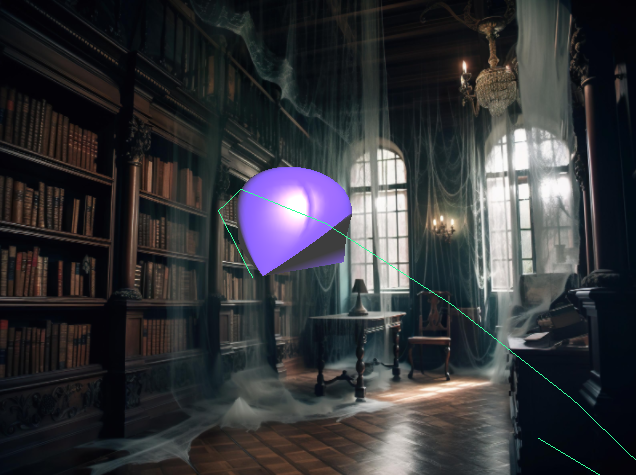
At the end, my model was finally presentable. But I wanted it to have at least a resemblance of a face, so I needed eyes.
For the eyes, I added two same surfaces without modeling on MATLAB ( I drew by hand). They are elliptic tubes. I defined new shaders for them since I wanted them to be a different colour than the ghost. I changed their diffuse coefficient to choose their colour as my liking. For testing purposes, white was easiest to see errors.
I, again had to fix the duplicate vertices by hand since I did not write an automatic code for it. Thanks to my vertice index array, such requirements are easy to add and just needs a small if condition.
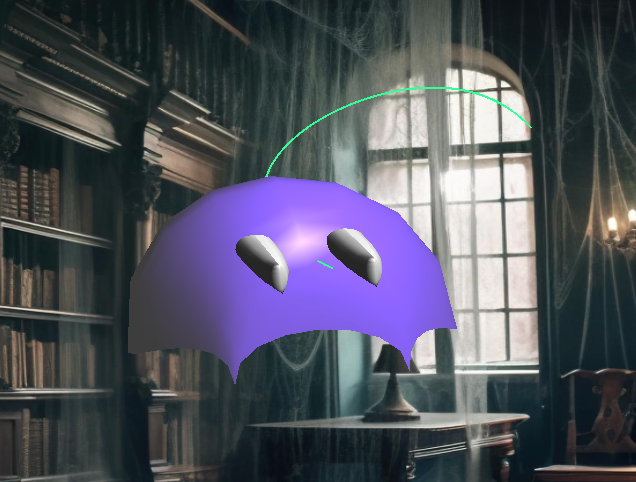
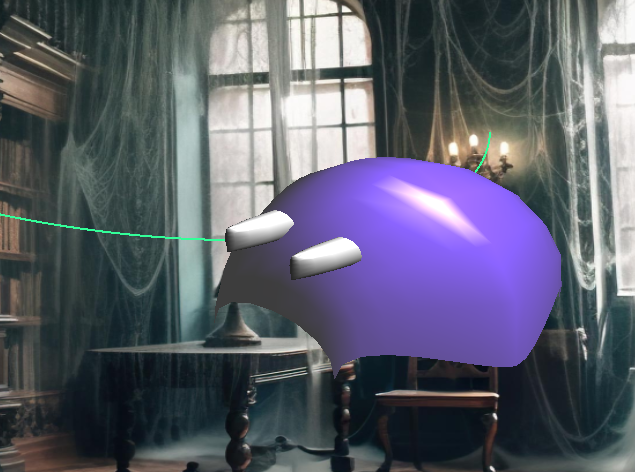
Then I put the eyes back into their sockets 🙂 I also slightly tilted the eyes to better fit the shape of the ghost.
Part 2: Curve
For the curve, there were several steps I needed to do.
First, I needed to determine the control points. I preferred to randomize them completely for the model to stay within the window boundaries. However at first, it was far from randomization, so I determined certain ranges. The curve now would be within any box I determined.

I liked the idea that the ghost would come quite close to the camera, but this meant that I needed to restrict x and y ranges quite drastically. I did not want to give up on any range of the coordinates, so I did the modification below:
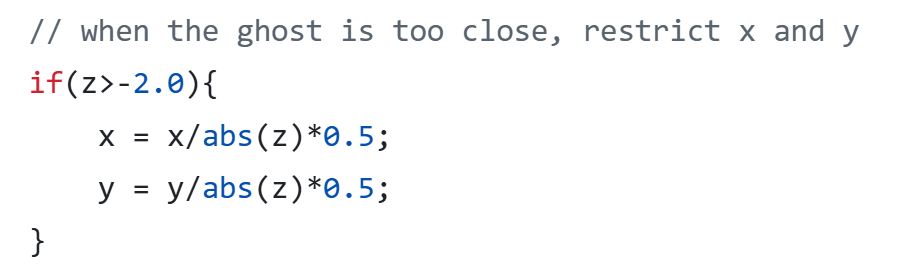
This works because my z values are always smaller than -1.
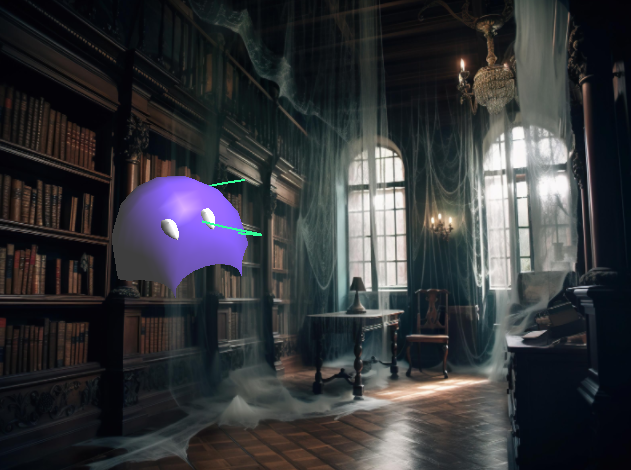
After the control points, I again sampled several vertices on the curve using the same Bernstein polynomials. Initially I chose 10 as the sample size, which was not smooth at all.
Then I increased it to 100, which allowed for the ghost to travel quite fast with a very smooth movement.
The curve also needed to be static and not move together with the ghost. For this purpose, I separated the model and the curve’s modeling matrices and made sure the curve modeling matrix never changed after initialization.
Since the curve needed to be green, I defined new shaders for the curves and set the diffuse reflection to green. I also did not like how thin the curve was, so arranged the width to be 2.0. This then caused the wireframe object (when wireframe is enabled) to have bold lines as well, so I made the width to its original value, 1.0 before rendering the wireframe object.
Part 3: Movement
First, the ghost needed to follow the path. I simply updated its coordinate to the next vertex in the curve by keeping a global path index. When the path index was at the end, I regenerated the curve with C1 continuity as below:
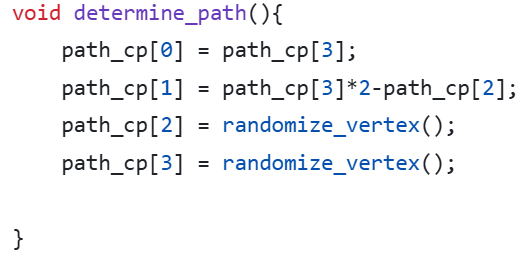
Everytime I regenerated the curve, I found the vertices on the path and set the path index to 0. This also required an update at the vertex buffer.
Then, the ghost needed to keep doing the roll movement while looking towards the way it is going. I defined an up vector, which is initialized to (0,1,0), and a gaze vector which is,

I then found the u from the cross product of direction and up, and recalculated up by taking the cross product of the new u and direction. This sometimes causes the ghost to turn upside down, but there are no abrupt orientation changes.
I put the created orthogonal basis into a matrix and put right before the final translation matrix which translates the ghost to the position of the current curve vertex, and right after the 90 degree turn function (which I had to add because apparently I designed my model sideways). I fixed the pitch rotation to none and left the roll quaternion rotation in the sample code.
At last, I had to put the curve to its center. Why? Because if I did not, then when it needed to rotate to look at the direction, it would rotate around an imaginary origin. I changed the translation matrix and lowered every index in the original 16 control points of the every surface.
Part 4: Keyboard Input
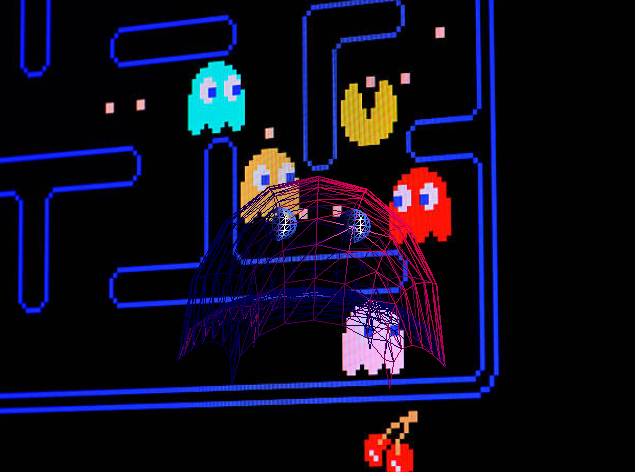
Wireframe: When the user presses W, the model is shown as wireframe. I defined a “wireframe” flag which controls if the drawing function calls the object solid or wireframe.
Show path: The path disappears/reappers when P is pressed. Again, I defined a flag that determines if glDrawArray for the curve is being called or not.
Stop moving: When space is pressed the ghost stops/starts moving. The code skips every update function if the corresponding flag is not set.
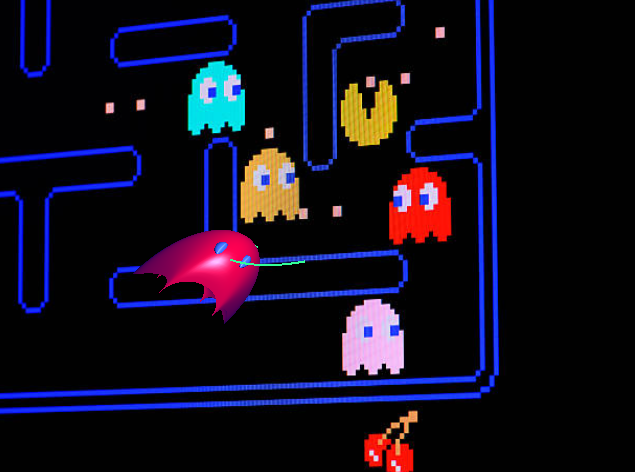
Finalizing
At the end, I looked at my model, and saw pac-man ghosts. If I had started with this intention, I definitely would make it look more like them. After this realization, I changed its colour to a more reddish colour to make it look like the red ghost, Blinky. Its eyes are now blue to match the ghosts. Moreover, I added a 3D-ish pac-man background and made the ambient lighting blue to match the atmosphere.
This was a very fun process, where I had to learn to incorporate:
- Bezier curves and surfaces with Bernstein polynomials
- Tesselation
- Both C1 and just C0 continuous surfaces
- A moving and a static object in the same scene
- Moving along a path
- Using quaternions and rotation matrices