For this assignment, I implemented a GPU-accelerated particle system using OpenGL and compute shaders. Here’s a step-by-step overview of how I developed the homework.
I began by creating a basic OpenGL window. Once the window was set up correctly, I saw an empty black screen, which means the window was working fine.
Initializing Particles
My next step was to initialize the particles. At first, I considered random positions, but I found it easier to debug with a uniform grid. I created particles using a simple loop and displayed them. I tested it with 1,000 and 20,000 particles (each sized 3).

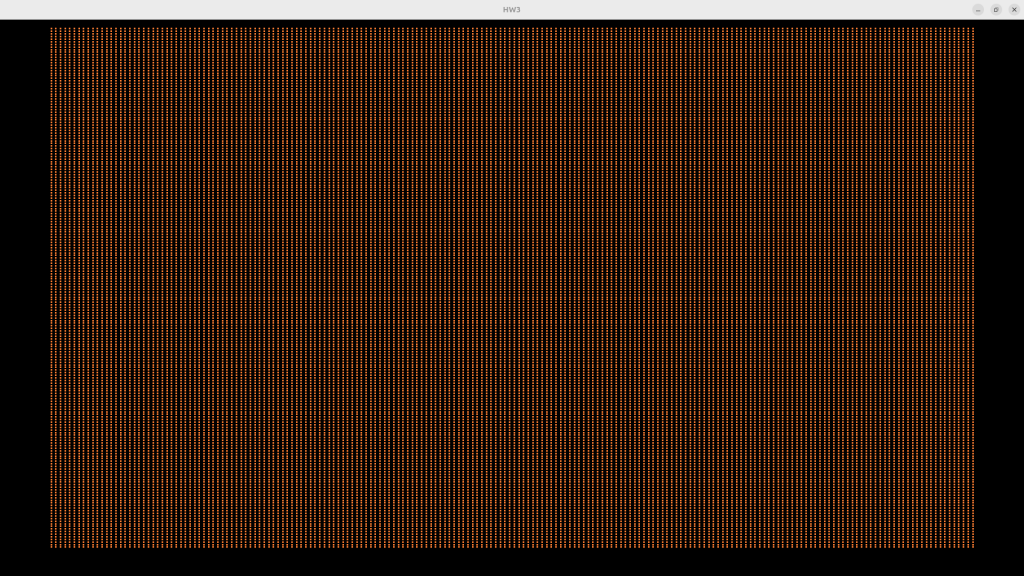
I randomly assigned velocity and age values to each particle. Then I confirmed this visually by using a fragment shader:
FragColor = vec4(fsVelocity, 1.0, 1.0) * fsAge;

Different colors indicate different velocities and different  brightness indicates different ages.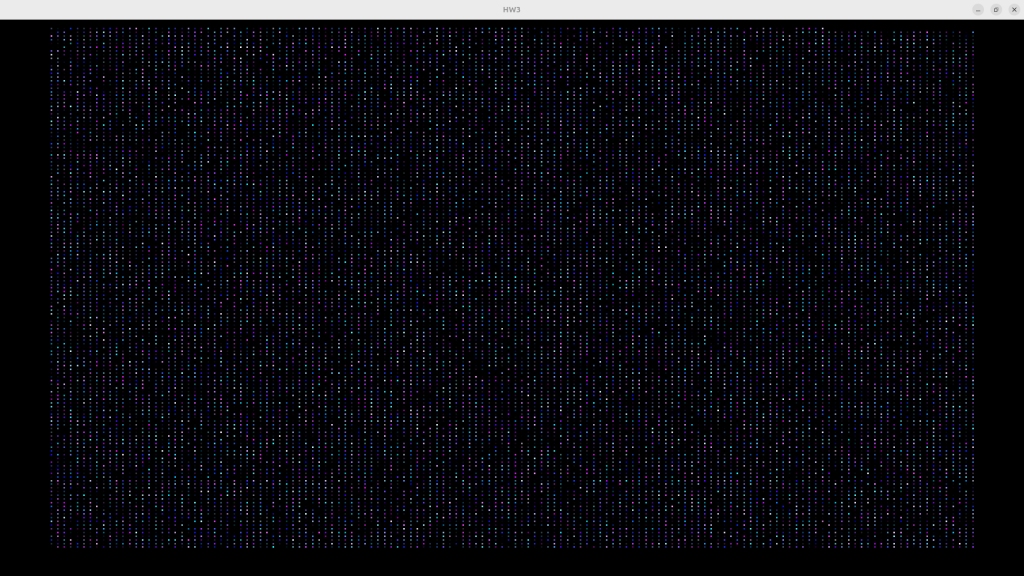
Compute Shader
To update particle positions on the GPU, I reused my VBO as a shader storage buffer (SSBO). SSBOs are very well-suited for holding particle data, so it felt like a natural fit. By doing this, I was able to share the same Particle structure between my CPU code and the GPU shader, which made the data handling more consistent.
First Bug (Later than I expected): I wrote a compute shader to set all particle ages to 0. I expected all particles to disappear (based on my color logic), but instead, some of them moved unexpectedly, and some just vanished.
This suggested that there is a memory alignment problem. Turns out that the C++ and GLSL structs didn’t match due to padding differences of glsl. The GPU expects proper alignment (std430), and my struct didn’t have it. I fixed it by padding my C++ structure manually:
  float _pad1; // 4 bytes to align struct size to 24 bytes

  // My GLSL structure
  struct Particle {
      vec4 position;
      vec2 velocity;
      float age;
  };

  layout(std430, binding = 0) buffer Particles {
      Particle particles[];
  };
After this fix, everything started working as expected.

Moving the Particles
I wrote a compute shader to update particle positions using velocity and time, and decrease the age. When the age hit zero, the particle was reinitialized.
Here’s an example with 20,000 particles:
Random movement with age change
Before continuing I want to mention my computer shader layout:
In my compute shader, the particle structure looks like this:
struct Particle {
 vec4 position;
 vec2 velocity;
 float age;
};
I used the position vector like this:
.xy: current position.zw: initial position
This helped me reinitialize particles toward the center after they expire.
Reinitialize towards the middle
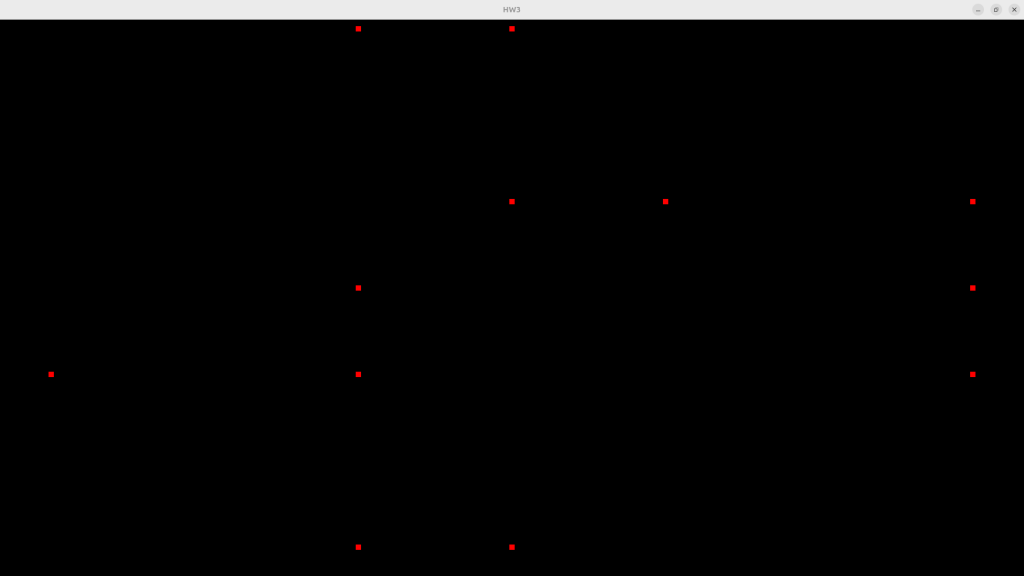
Adding Attractive Things
I added attractors that pull particles toward themselves. To calculate the effect of attractors I used the given algorithm in lecture slides. You can see some example videos below.
100,000 particles with 1 attractor. Particles are reinitialized uniformly after expiring.
One attractor with uniform reinitialize
1 million particles, 4 attractors, 2 middle, 1 top right, 1 top left, points are reinitialized from random origins. (my screen recorder does not doing well.)
Four attractors, random initialize
1 million particles 2 attractors, 2 middle down, slower initial velocity, random origin
Two attractors, random origins, slower initial velocities
It seems like there is not much difference between random origin reinitialization and uniform reinitialization.
I also want to mention that whenever a particle crosses the boundaries of the scene, I simply multiply its velocity with -1 to make it bounce back from the edge. This prevents particles from going out of the visible area and keeps them in the animation.
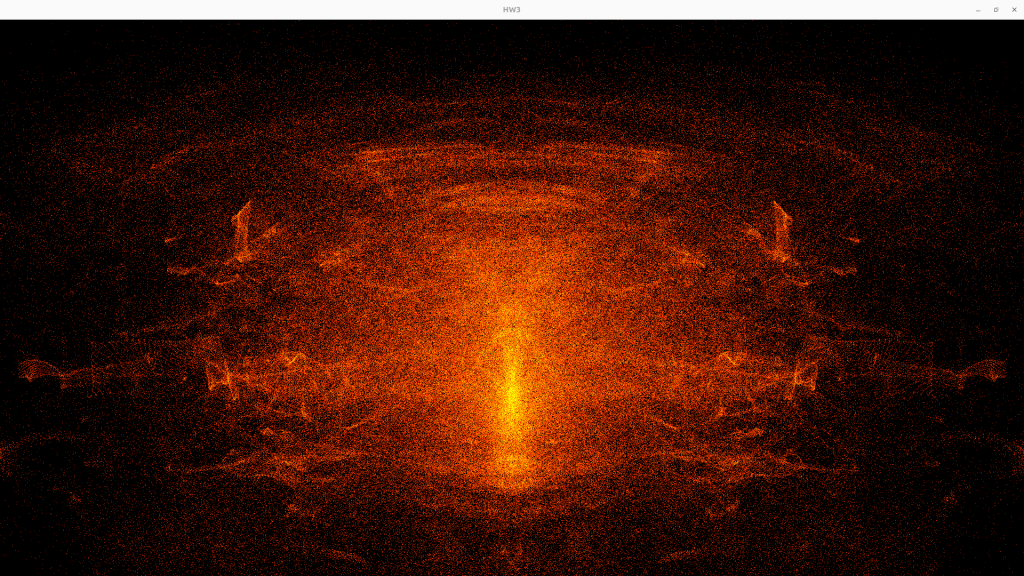
For the final configuration, I used 4 attractors: 2 in the middle bottom part (stronger ones), 1 on the top left and 1 on the top right (half the strength of the bottom ones). I also reduced the particle speed for a better visual effect. With these parameters, the particles create smooth and aesthetically pleasing motion. Here’s the final video example that I used to decide on this setup:
Four attractors, Uniform reinitializing, much slower particles
From now on, I will use this setup as the default one.
After setting the parameters, I also experimented with the coloring. I decided to use a fire-like color palette.
Better Movement Attempts
Earlier I said, “It seems like there is not much difference between random origin reinitialization and uniform initialization.” But it turned out this was because the particles were disappearing too slowly. When I fixed that, I noticed that uniform initialization is creating visual noise. I will not use uniform initialization anymore, random origin works better.
I implemented a feature to add and remove attractors with the mouse. However, I encountered a problem: after some time, particles gain too much speed and are not attracted effectively. To fix this, I added a simple friction logic:
velocity *= friction;Here’s a video showing the early friction result. I was impressed by how bad it was:
Friction bug
Then I tried a better approach: instead of applying friction directly, I normalized the attraction vector and scaled it with a custom attractorFactor.
This attractorFactor adjusts how much velocity the attractor adds to the particle. The final motion is still controlled by deltaTime, but this extra factor gives a balance between attraction strength and particle freedom.
I also added a multiplier to the position difference between particles and attractors. I noticed that the difference was too small, which weakened the effect. By amplifying it, nearby particles are more strongly affected, creating a nicer motion.
I revisited the friction logic to improve its visual quality. I replaced the previous friction formula with this:
vel = vel * (1 – (deltaTime * deltaTime) * 3);
This gave a much smoother damping effect when there are no attractors around. It also made the movement feel more natural. When there are attractors, this does not effect the movement since the velocity is normalized before applying friction.
Control System
I added some controls to the program. Here are all the user controls:
- Left Click → Based on current mode: either set new origin or add a new attractor (max 12 attractors)
- Right Click → Remove the last added attractor
- W / S → Increase / decrease the speed of the animation (by scaling
deltaTime) - Mouse Scroll → Increase / decrease mass of attractors (range: 10–100, steps of 10)
- R → Toggle animation (pause/resume)
- T → Toggle UI text visibility
- G → Switch between “set origin” mode and “add attractor” mode
- F → Toggle fullscreen (aspect ratio and UI placement are preserved)
Finale
After finalizing everything, I tested the performance. With 200,000 points and point size 2, the animation runs smoothly on my machine. Here’s a video of that (You can see the friction effect around 2:00 minute):
HW3 Demo
I also ran a short demo with 4 million points. Even though my screen recorder struggles with this number, the animation still works fine in real-time.
Short example with 4 million points
Based on my visual tests, university lab computer can handle at least up to 4 million particles without noticeable performance drops.