This assignment was about putting together a basic deferred renderer with HDR cubemap support, tone mapping, motion blur and some basic camera movements. I rolled up my sleeves, dove into OpenGL, and here’s how it all unfolded
Code Cleanup
I started by refactoring the given code to understand what’s what and build a more organized codebase. Clean code makes life way easier, because when things break (and they will), messy code makes debugging intense.
HDR Cubemap Loading
Next, I focused on initializing the HDR cubemap textures. Parsing the .hdr files was thankfully painless thanks to the stb_image library. Then came integrating it into the scene. This was easy again. I followed OpenGL’s tutorial and changed the given quad.obj file to create a cubemap instead of a single 2D quad.
A Weird Issue: Once I added the OBJ model, the texture looked broken, only the middle part showed and it completely occluded the model. I tried tweaking the quad.obj vertices at first (bad idea), then realized the issue was with the field of view. Turns out it should’ve been 90°, not 45°. Fixed it, and everything looked as expected.
Also updated the OpenGL depth functions (glDepthFunc, glDepthMask) before and after cubemap rendering to properly handle occlusion.
Tone Mapping + Gamma Correction
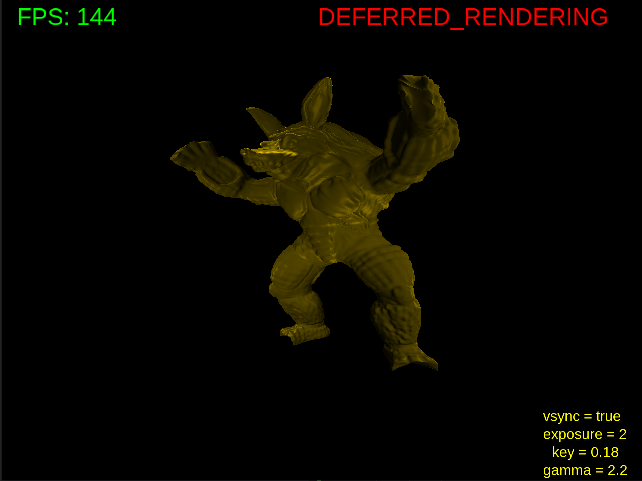
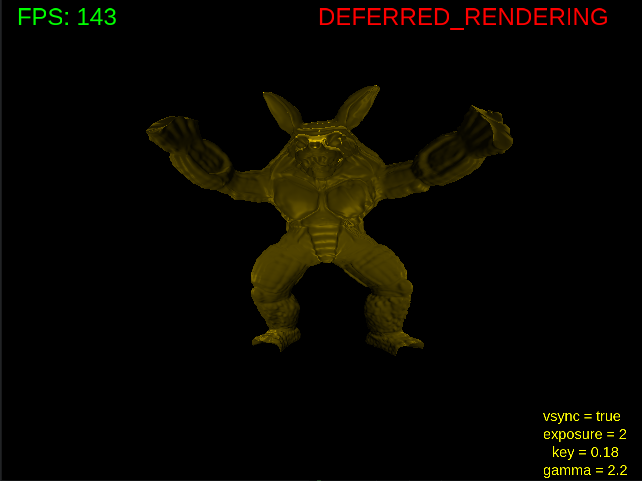
I added gamma correction and manually inspected every cubemap face to be sure (I did this simply by changing the gaze vector). Then I implemented Reinhard tone mapping and added an exposure control with a text feedback on the screen. The current state:
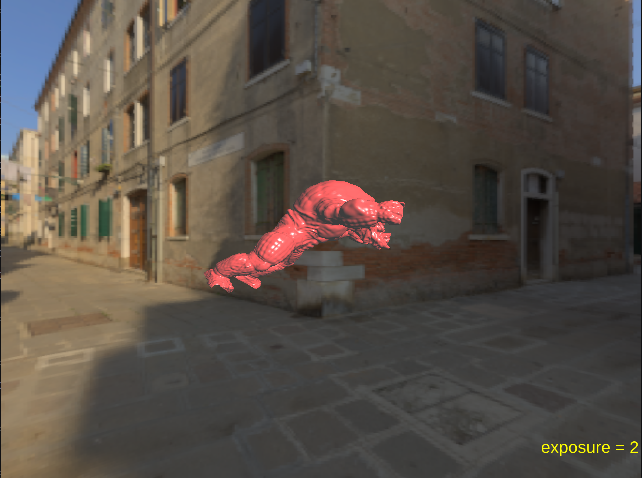
I realized that I was supposed to use global Reinhard tone mapping for the homework, but I implemented a simpler version with just an exposure value. Probably should’ve watched the video before jumping into the homework. 🙂
I also added the last pressed key to the screen, displayed in the bottom-left corner for 30 frames. It’s hardcoded for now, but I could adapt it based on FPS if needed. With that, the basic cubemap setup was done: an armadillo object, tone mapped cubemap with adjustable exposure, and key press indicators. This is an example video:
Armadillo Movement
The armadillo’s movement was looking strange. I stripped out all the movement logic except the modeling matrix and simply rotated the model around the Y-axis using quaternions. The armadillo was already facing +Y, so I just adjusted its Z position to bring it closer and made it spin. I added a toggle key (R) to pause/resume rotation as expected from the homework. Example Video:
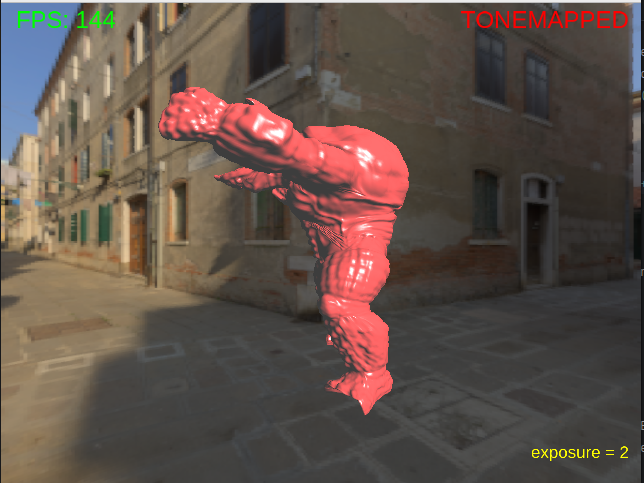
FPS Counter
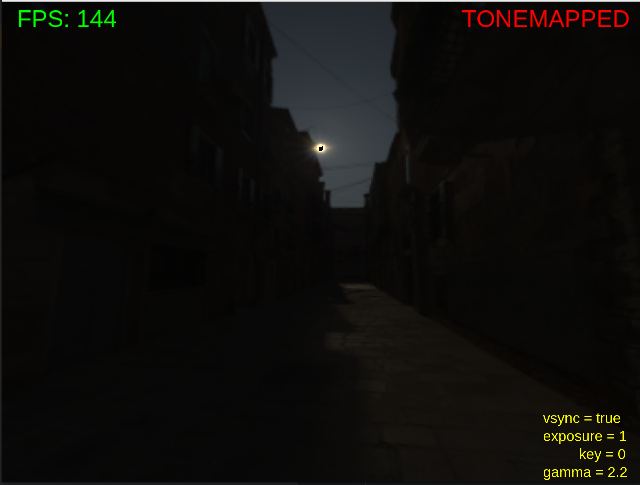
From there, I started to the FPS counter and fixed the key press display logic. Instead of counting a fixed number of frames, I switched to showing the key for about 1/3 of a second (show #(current fps / 3) frames). I also added a rendering mode indicator to the top-right corner of the screen. Right now, it just says “TONEMAPPED,” but it’s set up for more options later.
Proper Reinhard Tone Mapping + Little Additions
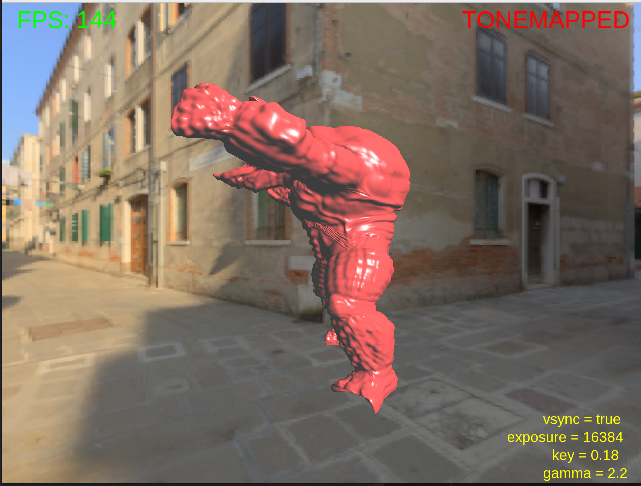
Before going further, I decided to fix my Reinhard tone mapping. Initially, I was just using the exposure value directly, but it turns out we are supposed to divide the log average luminance by the exposure and scale accordingly. I corrected that and added more UI text: gamma, exposure, and key value. I also gave users the option to view just the cubemap, no object or tonemapping. For now I am still rendering the object but I will fix that soon.
Then, I added a V key to toggle vsync. With vsync off, FPS jumped to ~1100. Seems good.
After watching the homework presentation video again, I implemented some of the expected functionality: Space toggles fullscreen, Up/Down scale the key value, and exposure no longer affects the tonemapped output, only the key value does now. The program started looking much better after these fixes.
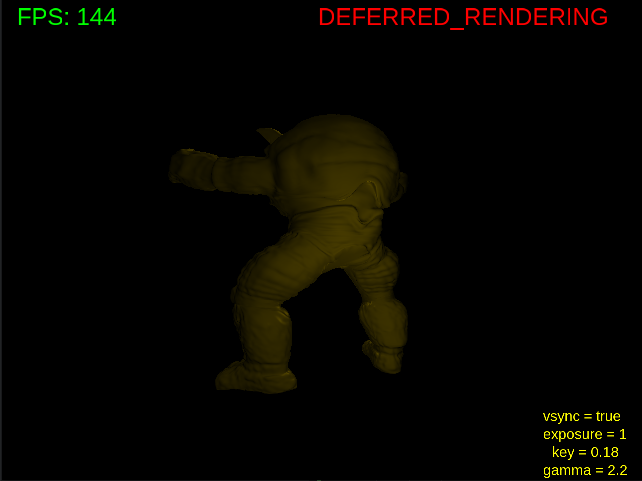
Deferred Rendering
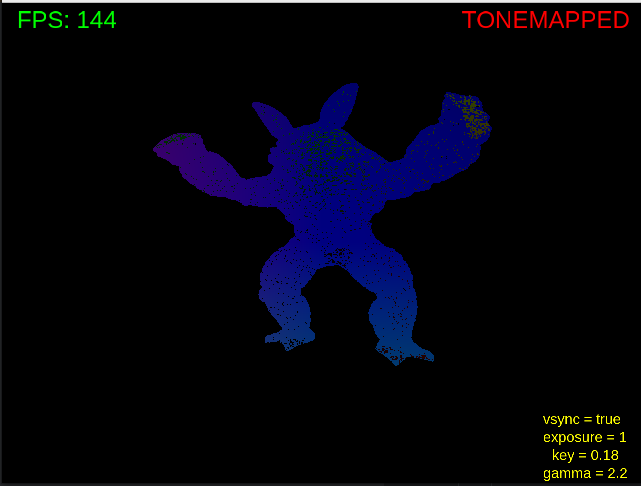
Next, I tackled deferred rendering. I followed a great YouTube tutorial by Brian Will. At first, I ran into an issue where the geometry render pass seemed to override the cubemap output. To fix that, I adjusted the render order so the geometry pass runs afterward. That helped but initially the visuals still looked pretty bad. As I rotated the scene, the colors were flickering and jumping in strange ways, which made me suspect that depth testing wasn’t working correctly or that something was off with how the G-buffer was being used. It was looking like z-fighting as you can see:
To fix it, I started with normal calculations. I had forgotten to include the view matrix in the normal transform. Also, the object was dissapearing on window resize, which I fixed by reinitializing the gBuffer as stated in the homework pdf (since it depends on screen dimensions).
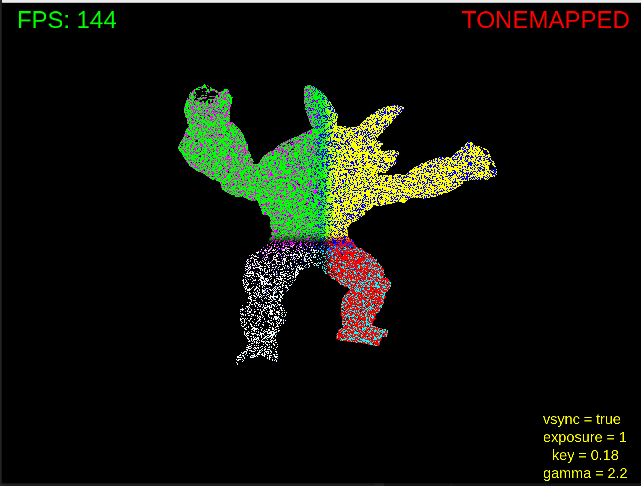
Z-fighting was a particularly annoying bug which is caused by how I defined gPosition and gNormal in the fragment shader. When they were vec3, depth values weren’t initialized properly, causing Z-fighting. I changed them to vec4 and the problem solved magically. I tried a lot of things up to this point because the problem was so unexpected for me.
Another bug: I noticed that the gPosition and gNormal textures looked identical in the geometry visualization shaders. Both the gPosition and gNormal data were being written correctly to the G-buffer, so the issue wasn’t with the rendering, just with how the textures were being attached to the shader.
It turned out that whichever texture I attached first (normals or positions) would end up being used for both, which clued me in that the problem was in the fragment shader bindings.
I eventually realized I had forgotten to set the uniform for the gNormal sampler in the shader. Adding this line fixed it:
glUniform1i(glGetUniformLocation(visualizeProgram, “gNormal”), 1);
That ensured the gNormal texture was correctly bound to texture unit 1. After that, both the position and normal visualizations rendered properly.
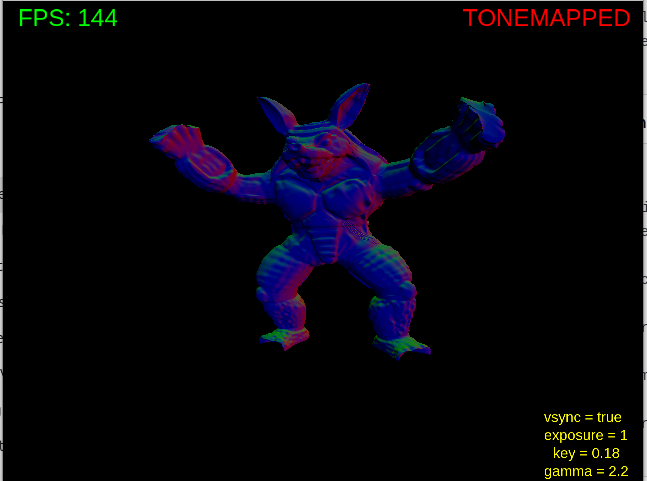
After some little additions this is a showcase video and some screenshots. Sorry for the flashbang :).
Shading with G-Buffers
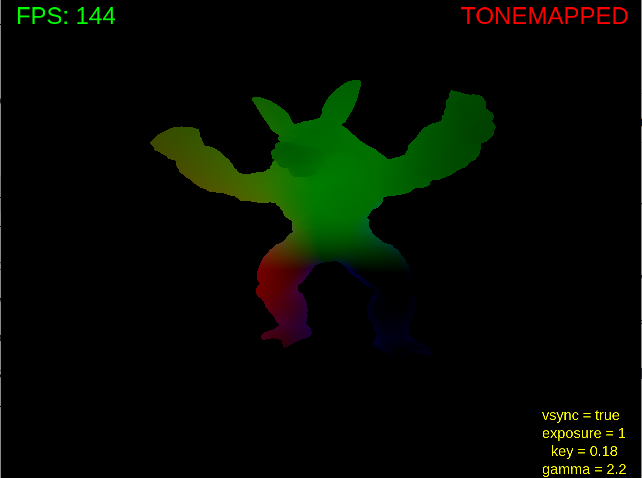
With that resolved, I moved on to Blinn-Phong shading with four point lights, one near the head, one at the back, and two around the legs. The initial result was decent, but I noticed lighting didn’t behave consistently with earlier stages. It turned out that I had stored vertex positions in object space instead of world space during the geometry pass. Fixing that brought lighting back to expected behavior.
At the end of the homework I used the same lighting setup with the given shaders to make the scene consistent.
Mouse Movements + HDR Image Fix
Next up: mouse movement. I implemented it using glm::lookAt, and it worked nicely. But then I saw a mysterious black patch on the sun in the tonemapped image. My cubemap texture was using GL_RGB16F, not enough precision. Switching to GL_RGB32F fixed it. You can clearly see the black patch with a low key value tonemap.
After the fix:

Motion Blur
To finish the homework, I implemented a motion blur effect as a post-processing step. I did this by sampling the color of several neighboring pixels in the fragment shader and blending them with different weights (simple linear motion blur). The closer a neighboring pixel was to the center (detected with a simple linear calculation), the more influence it had on the final color. This effect is particularly noticeable when the camera or object is rotating quickly. Configuring and deciding the parameters of the motion blur and movement pace detection was harder than the motion blur algorithm.
To apply this effect to the scene I rendered the scene to a frame buffer and use that framebuffer to render the scene to the screen by motion blur shaders.
Known Issues
- Current motion blur is simple. Log average luminance may be used to make a better effect as stated in the homework pdf.