Creating a YouTube channel for educational purposes is a convenient platform for creating an interactive virtual education environment where learning resources can be used by both your own students and distant students via the internet. First, the target audience and the topics it will cover should be determined. The name and description of your channel should be compatible and evocative with the content. In addition, preparing a professional profile photo and channel cover photo will help your channel look professional.
You can follow the steps below to create a YouTube channel for your educational channel.
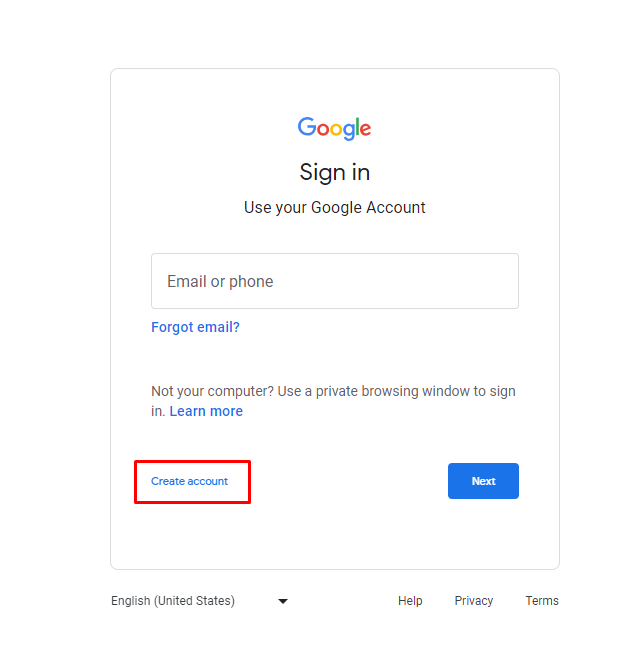
1.1. Log in to your Google Account: You will need a Google account to watch, share, create and comment on YouTube content. Go to YouTube.com and click the “Sign In” button in the upper right corner. If you have a Google account, log in. If you have more than one Google account, select the account you want to associate with your YouTube channel. If you do not have a Google account, create a new account by clicking the “Create Account” button.
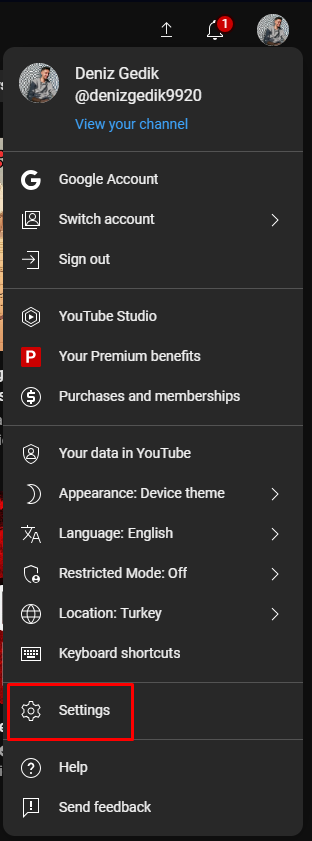
1.2. Create a New YouTube Channel: After logging in with your Google account, click on your user icon as in the image and go to “Settings” from the menu that opens. On the account overview page, click on “Create a new channel”.
1.3. Create Your Channel Name: Choose a name for your new channel. This doesn’t have to be the same as your Google account, but it’s recommended that it reflects the brand your channel represents. After you enter your channel name, you may be asked to verify your account. In this case, enter the verification code you received.

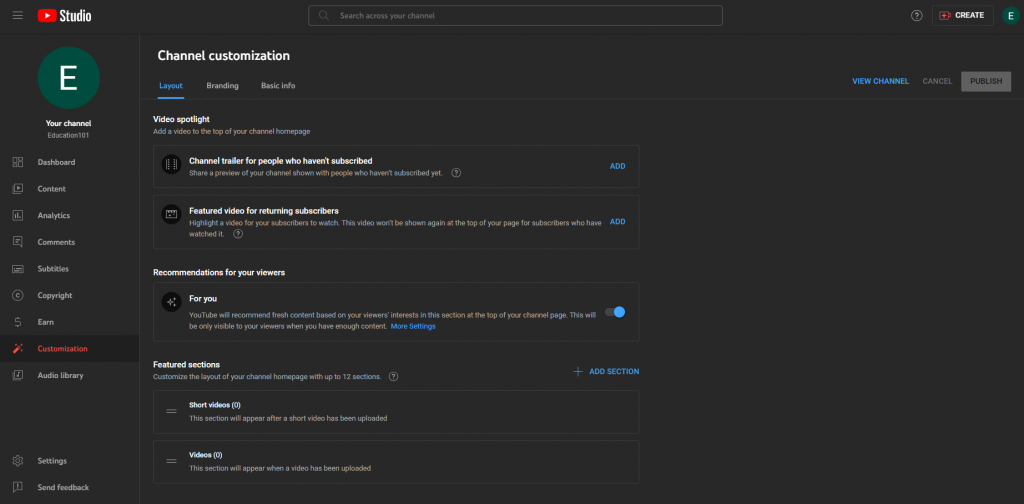
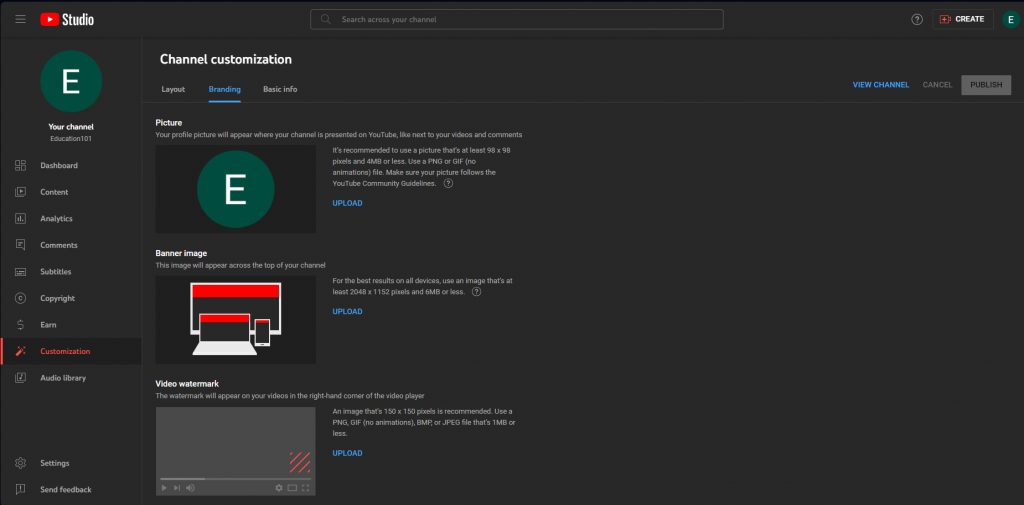
1.4. Customize Your Channel: Click on “Customize channel” from your channel’s control panel. You can optimize your channel for viewers through three tabs: “Layout”, “Branding” and “Basic info”.
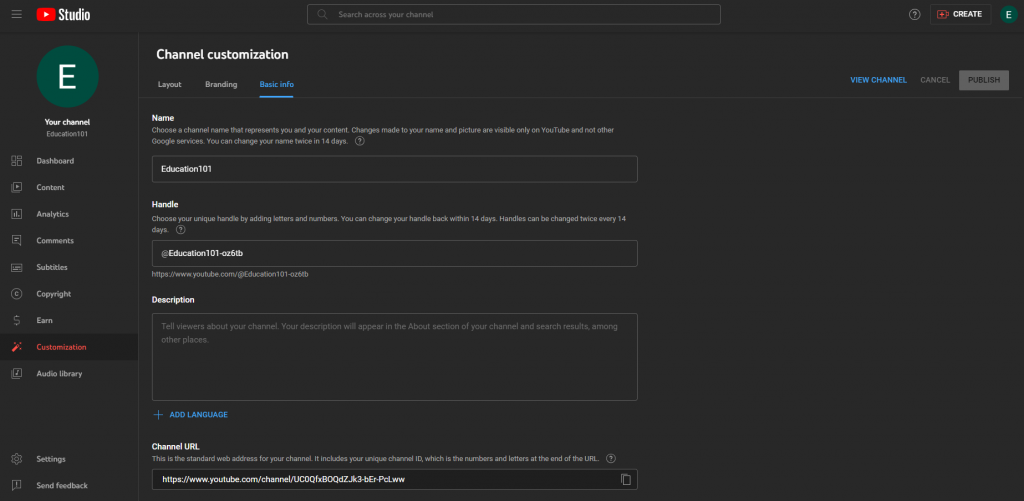
1.5. Add Basic Information: In the “Basic info” tab, enter basic information about your channel. Add the language of your videos, a description of your channel, and you can add links to sites you want to share with your viewers.
1.6. Upload Branding Elements: Under the “Branding” tab, add visual elements such as profile picture, banner image, and video watermark.
1.7. Customize Further Layout Options: Under the “Layout” tab, you can choose how your channel page will look, set your video showcase, and organize your channel page with featured sections.
1.8. Add Videos and Optimize for Search: Click the “Create” button in the upper right corner to upload your first video. Add your videos and optimize them for search to make your channel discoverable. After these stages, the basic elements you need to pay attention to when uploading your videos are as follows:
a. Title: One of the first things that catches our eye when searching for a video is the title. This is usually what determines whether the viewer will click to watch your video; therefore, the title should not only be interesting, but also clear and concise.
b. Description: The description section of the videos is located just below the video player. Viewers use this section to read the detailed content of the video and to reach the links to the content mentioned in the video, if any. You can also place relevant links in this section so that they can reach other videos on the channel.
c. Tags: Using tags not only lets viewers know what your video is about; it also helps YouTube understand the content and context of your video. This way, YouTube can expand the reach of your content by associating your video with similar videos. However, just like with your title, you should avoid using misleading tags or your videos will be shown to fewer viewers by the YouTube algorithm.