I wanted to be able to see my progress as I write the code, so I decided to start by implementing the simplest renderer possible that would let me somewhat see what’s going on in the see. Firstly, I wrote the parser. Once everything was successfully loaded from the .json, I computed the necessary vectors and coordinates(m, u, v, q etc.) to get the ray equations. Secondly, I loaded the vertices and the shapes. After the shapes were loaded, I wrote the hitRay functions for each shape, so that I can calculate ray-shape intersections. I shaded every ray that hit an object fully white, which let me finally see some results.

It was relatively straightforward to implement ambient shading since all I had to do was a single multiplication:

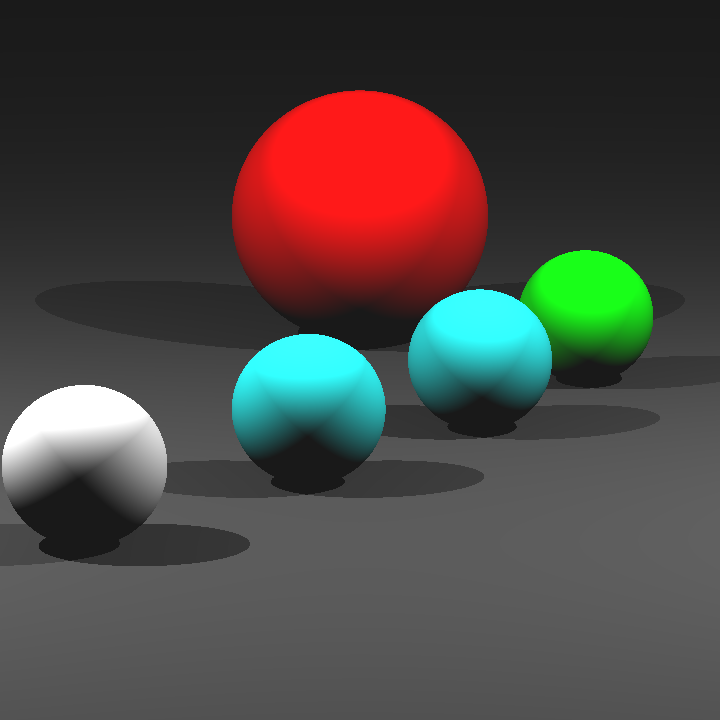
Coding diffuse shading was the next step. On intersections, I looped through point lights and calculated the diffuse values and added them to the already calculated ambient values.
While I had made good progress, I also realized that my objects were coming out horizontally stretched. After some debugging, I found that this was happening because I forgot to normalize u before using it in calculations.

Adding specular lighting wasn’t much different that adding diffuse lighting, I just added in the phong shading values to the loop I previously mentioned.

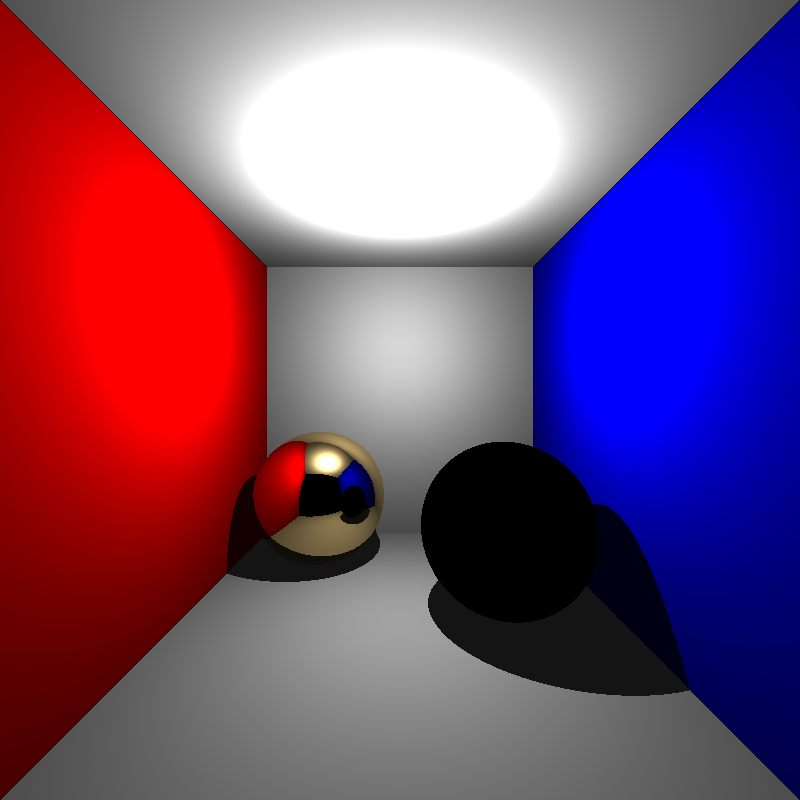
It was time to implement mirror materials now. On intersections with such materials, I recursively shot new rays in the reflection direction, with an origin moved a bit along the surface normal, until maximum recursion depth was reached.
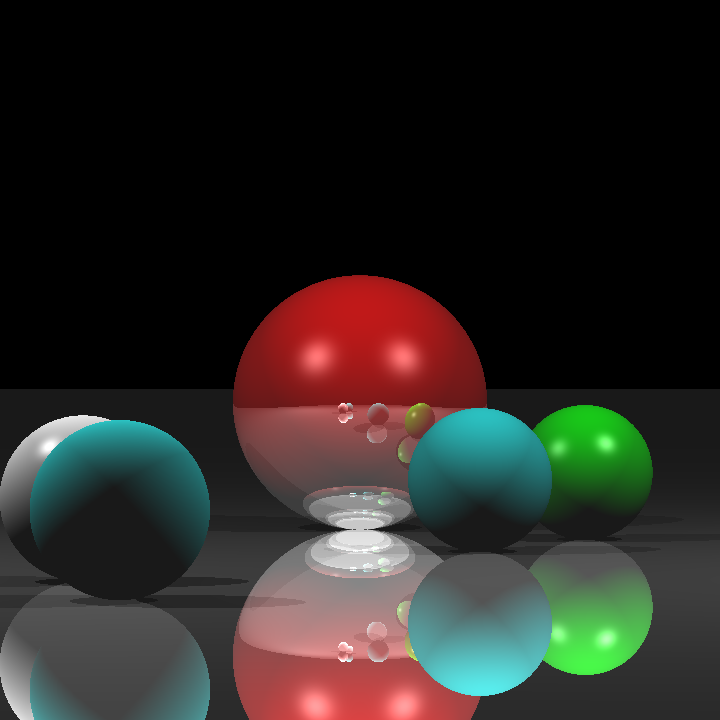
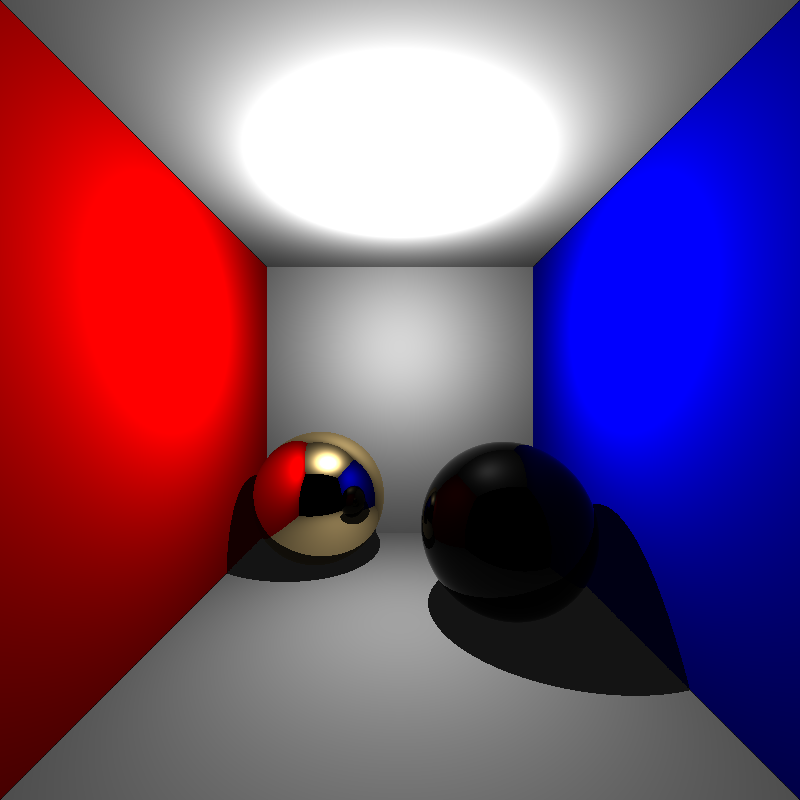
The next type of material to implement was conductors. This was extremely similar to shading mirror objects. I just had to calculate reflection ratio alongside with the reflected ray’s shading.
Implementing dielectrics proved to be the most tricky. I first coded the reflected component of dielectrics.
Adding in the refracted light however, was not so simple. I kept getting nonsensical results even though I was sure that my transmission ratio was correct.
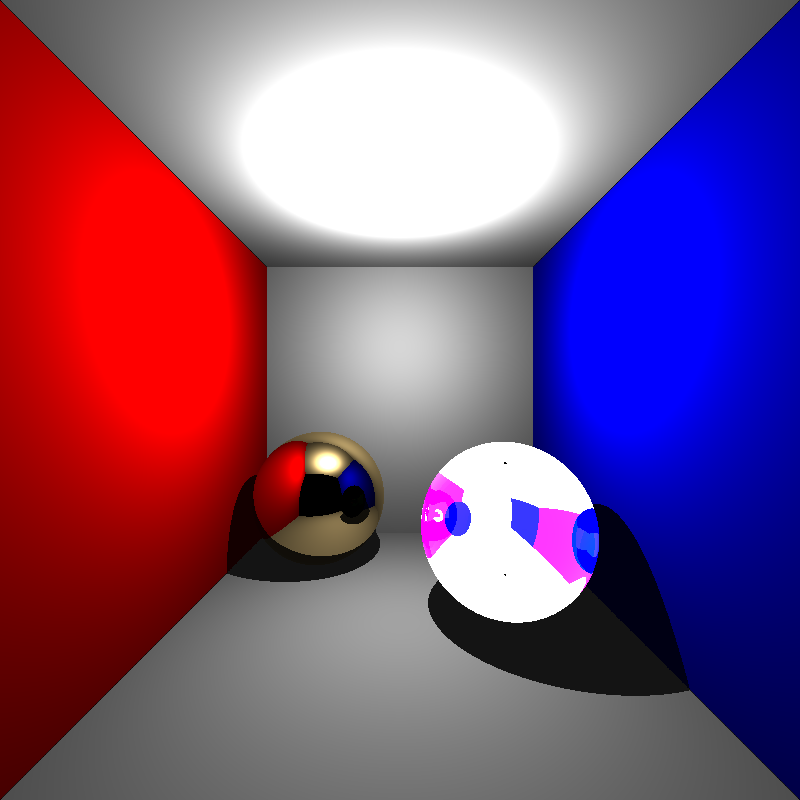
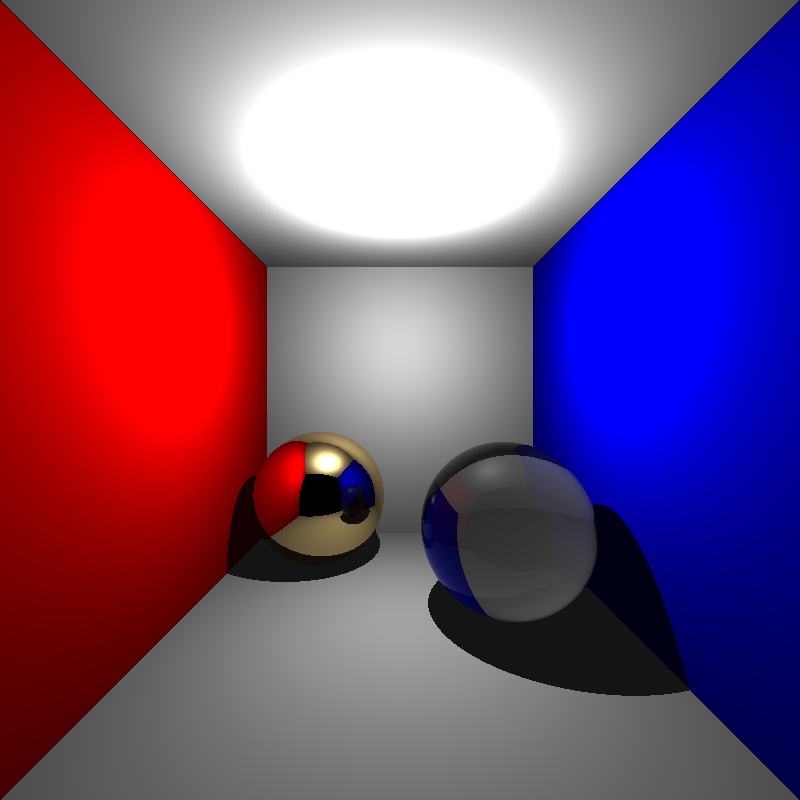
After debugging and reading lecture slides for a good while, I realized that this was happening because I did not handle the rays traveling within dielectrics correctly. Namely, I needed to flip the surface normals before shading them.
My last step was to implement smoothly shaded meshes. I calculated vertex normals according to the formulas, but I just kept getting images that were pretty much identical to flatly shaded ones.
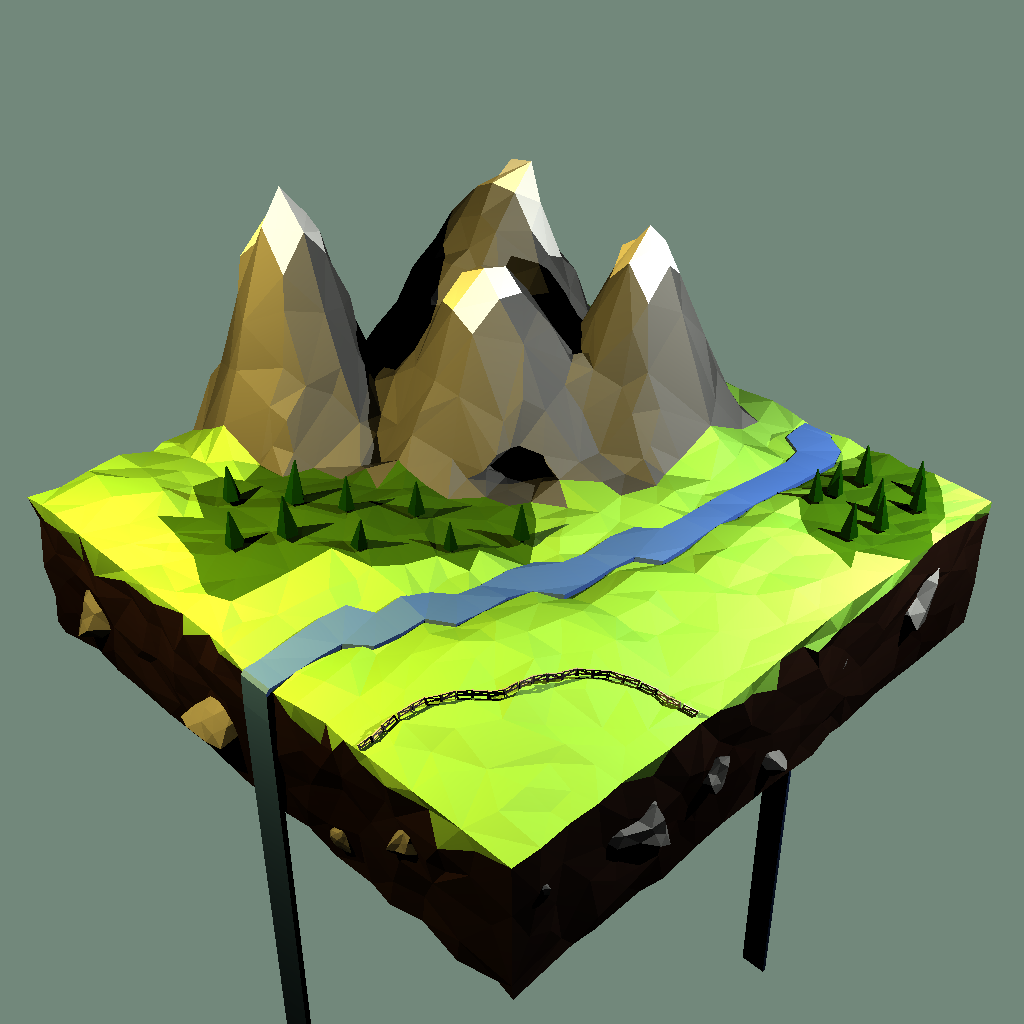
My error here was calculating vertex normals seperately for each individual mesh when I needed to calculate vertex normals by just looking at the vertices themselves, without considering the meshes.
With this, I was pretty much done. I wrote a Makefile to build the binary and tested it on ineks then submitted my code.
Leave a Reply