HW1 Blog Post
Mehmet Alp Arargüç
-
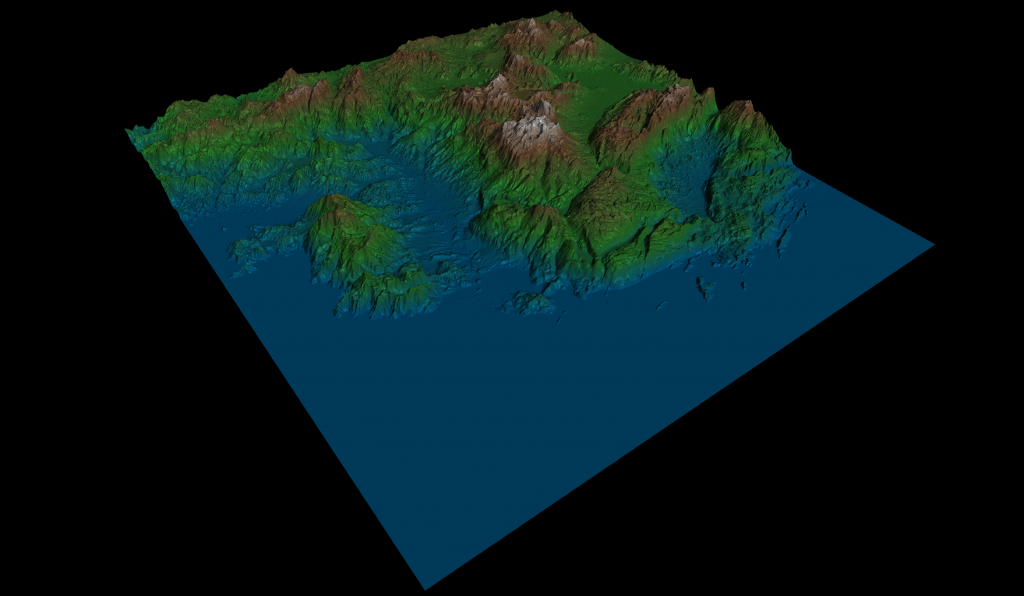
Shading Mode – Final Result Hello everybody, this is the blog for my implementation of CENG469 Surface Rendering homework. In this blog, I will talk about the implementation process and the experiences I had during the process in a chronological order.
B-Splines Phase
Initially, I downloaded and set the starter code up in my laptop. Since I was familiar with the code from CENG477 HW3, it was comfortable to just focus on the project itself. However, the first few days of the project was the toughest. I could not even write a single line of code for the first one and a half day because I realized that I had no idea of how B-Spline surfaces worked. First day, I just tried to understand B-Spline curves by trying to build up from constant B-Splines to cubic B-Splines. What helped me understand the concept was just thinking the whole B-Spline curve as a weighted average of the points and actually seeing the formula:
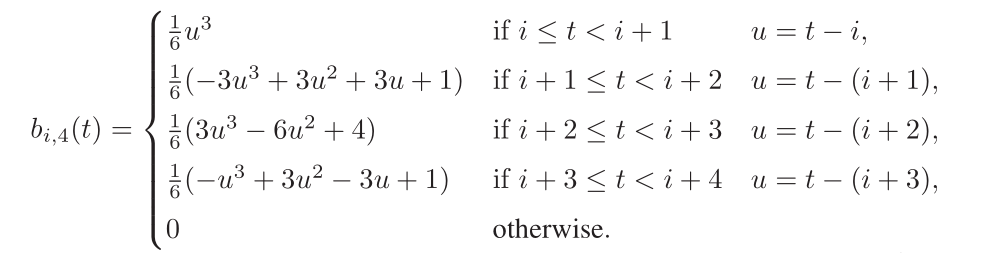
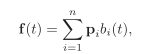
Fundamentals of Computer Graphics: Third Edition This formula clearly shows that the value of the curve averages the 3 nearby points with more influence towards the middle one.
It helped me understand what the curve is doing at each knot and implement the knot vector. The mental generalization from curves to surfaces was relatively easier.
Implementation Phase
Once I got the mental model for B-Spline surfaces, I started implementing them. Initially, I just wrote some horrible, inefficient code because I could not manage both trying to solve a difficult problem and writing nice code together. Once I got something working, I iterated on the code to improve its quality and its efficiency. Firstly, I wanted to improve the efficiency of the code on single core and applied some basic optimizations such as moving calculations outside of the loops, defining constant matrices as global static variables and I also tried loop unrolling; however, it did not make a difference due to optimizing compiler. I was actually testing my execution time for sampling using the time command and recording my results with various improvements but I completely messed it up so there is nothing to present. One optimization I was curious about was the usage of regular pointers vs vectors. I saw a difference of about 0.07 seconds in my program when I replaced the vectors with pointers, which was interesting. However, that 0.07 seconds cost one hour of my debugging time due to the absence of out of bounds checking.
I also asked an LLM how I could further optimize the code and it reminded me of the importance of matrix multiplication order. I cannot believe that I never thought about it. My program was performing the worst order possible by first multiplying the 3 matrices in the middle. I was performing 480 multiplications in total to find the sampled position, including all the axes. When you change the order, it is only 160 multiplications. That was a huge efficiency gain, which reduced the execution time a lot.
Finally, I used the thread pooling both for sampling and calculating the indices array and it was pleasantly easy to use to my surprise. I did not face a lot of issues.
Out of Bounds Bug Even though it was buggy, I was happy that it worked mostly and all the bugs were originating from the edges of the surface. It relieved me as I was expecting problems on the edges due to loop and array boundaries.
I am not sure if this next technique really optimized the code or not but I used buffer orphaning to avoid stalls while loading the sampled data to the GPU. According to OpenGL documentation, immutable storage is more optimized as the driver can make some optimizations for the most cases. However, the documentation favors buffer orphaning for sending large amounts of data to the buffers at once. It requires using mutable buffers, because with buffer oprhaning, you allocate new storage for the next batch to be rendered. Since we are allocating new storage and not just manipulating the old one, OpenGL does not need to wait for you to fully update the buffer. It uses the previously allocated storage in the current draw call while updating the new set of data to the newly allocated block. With immutable storage, since it is just reading one buffer, it has to wait for all the updates to be completed. There are more advanced methods with immutable storage though.
I wrote all the surfaces related code in a surface namespace instead of creating a surface class as I wanted to write my code in a more functional style than OOP. To my knowledge, the closest concepts to modules in c++ is the namespaces so I used namespaces to mimic modules.
Callbacks
I created another namespace for callbacks to handle inputs. I declared global bool variables that are toggled when their corresponding key is pressed or released. Also, I declared std::functions to be initialized in the main function to set the functions to be called when the corresponding bool variable was ‘active’. This design allowed for great flexibility as lambdas can capture environment variables and alter them. Initially, I was actually detecting the action GLFW_REPEAT for some keys and it was feeling quite laggy. I switched to checking with bools and it was much smoother obviously.
I also removed callback functions from GLState class and integrated it with my surface namespace as it fit my design better. Also, I changed the CamTransform struct to store pos,u,v and w glm::vec3s as it was more convenient for me.
Quaternions & Camera
Quaternions were also pleasantly simple. Glm already overloads ‘*’ operator to perform the multiplication of quaternions and vecs to rotate the vector. In addition to that, I used glm::angleAxis function to create the rotation quaternions, which was also intuitive. Even though the concept itself was not difficult, I spent some time getting the camera movements right. Once I was done, I could not understand why I spent that much time on such a simple function.
One bug I faced in this phase was the camera orientation changing instantly when I clicked on a random spot in the screen. I instantly realized that it was because I was not updating the location when I clicked the left mouse button after releasing.
Shaders
The shader code required for this homework was a standard one. I implemented changing the height dynamically by just changing the model matrix sent to the shaders so that the normal matrix is also automatically handled by the starter code. The only part I struggled for a bit in the shaders was the shaded mode. I picked the opposite direction of the light direction I intended. Due to that, the specular and diffuse components were not working as expected for a while but I recognized that and fixed it.
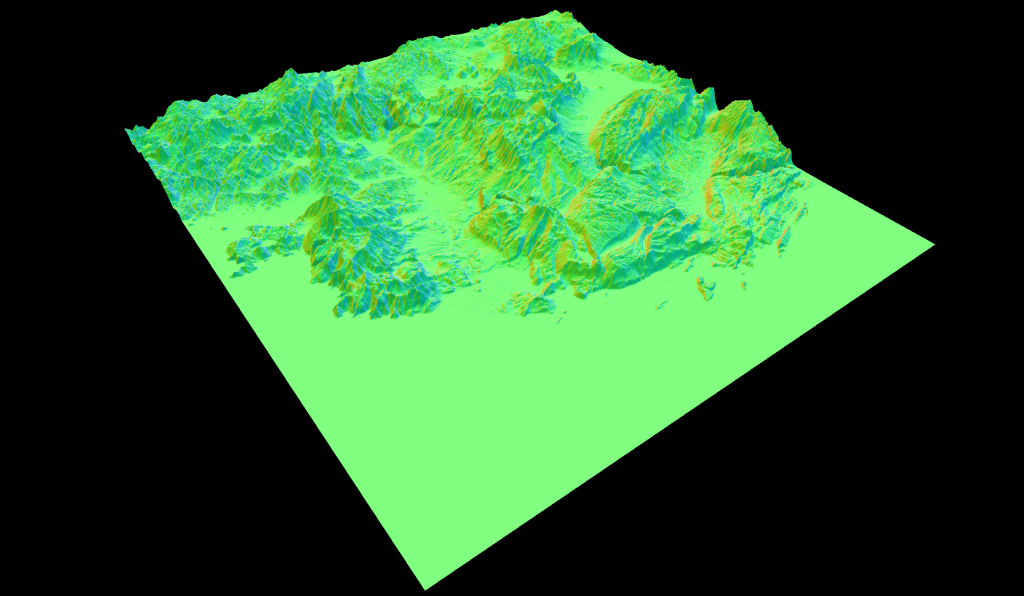
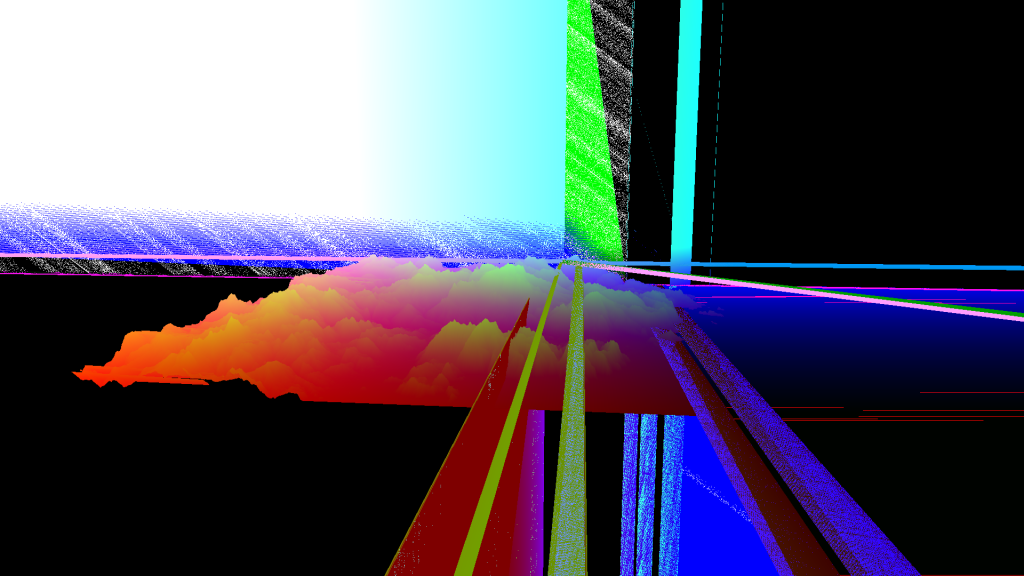
Surface Normal Mode 
Height Mode Speed
Here I will provide two speed measurements using my own laptop with the following characteristics:
- CPU: 12th Gen Intel(R) Core(TM) i7-12700H (20) @ 4.70 GHz
- GPU 1: NVIDIA GeForce RTX 3050 Ti Mobile [Discrete]
- Memory: 16GB
I first tested how fast my program was sampling at different sampling rates (same rate for both directions). For the test, I called the sample function 50 times because I wanted to eliminate the impact of GLFW and GLAD initializations on the time. I called both sampling to get vertex data and index data but did not upload them to the GPU. This is all in CPU except for the initialization where I upload the data to the GPU.
Sample Rate vs Execution Time
Sample Rate CPU Utilization Total Time(s) Average Time(s) 1 1455% 6.886 0.137 2 1222% 1.902 0.038 3 1083% 1.219 0.024 4 1088% 0.991 0.019 5 1039% 0.788 0.015 Sample Rate vs FPS
Sample Rate Fill Mode FPS Wireframe Mode FPS 1 43 3 2 144 10 3 144 19 4 144 40 5 144 70 As seen in the table, wireframe mode performance is quite low. I have researched some ways to improve that. Emitting lines through geometry shaders was one of the methods that caught my attention but I did not have the energy to try further. Surprisingly, the wireframe rendering fps was better in the department computers.
What Could Be Improved?
- Wireframe rendering can be made orders of magnitude faster.
- Camera movements are fps dependent. Probably a more professional approach would be to set a timer and move when that timer is triggered.
Conclusion
I love these assignments. Aside from computer graphics itself, it teaches me a lot about programming in general as well, especially when it comes to debugging. I have learnt my lesson from the previous assignments and this time made sure that any line of code that I added recently works before proceeding with new code. The first time I rendered anything to the screen, I got a pretty decent result because of that and everything was much smoother and debugging was much easier. I failed a lot as well, especially with my optimization trials. I tried to optimize the sampling code for a whole day and almost all of the things I have tried failed or had no effect. For example, instead of constructing control points matrix every single time, I could just directly multiply using the vector that contains the control points. It did not do much though and it might have been worse actually because GLM functions probably utilize SIMD better.
The most difficult part of the homework was constructing the surface and it took me few days to understand how surfaces work and actually implement it. The rest was pretty smooth. Also, the worst bug I had was also in this stage. It was caused by sampling past the valid interval and reading garbage values.
Overall, I am happy with what I made and it was a pleasant experience.